

- Joomla 4.x
- Joomla 3.x
- Joomla 2.5
- Joomla 1.7
- Joomla 1.6
- Joomla 1.5
Add a smooth magnify effect to your Joomla website images with this popular Joomla image zoom extension.
Zoom images on mouse-over or change it to zoom on click. Just one of 40 customizations made within a couple of clicks. The effect can be applied to any image on your site simply by adding a class of 'MagicZoom'. If you use VirtueMart, download the Magic Zoom for VirtueMart extension instead (perfect for zooming your product images).
Choose from 3 styles of zoom: magnifier (circle or square); zoomer (internal or external); or preview (full image). This Joomla zoom extension is responsive, so images will instinctively scale up/down to perfectly fit each users screen.
Do you want a different setting to appear on desktops and handheld devices? That's possible too! It's easy to apply separate mobile settings. Get started with Magic Zoom now - download a free trial version!
Key features
Improve your UI
Joomla is long-time favourite for for building custom websites on a solid platform. But there are two sides to a coin - Joomla's image viewers leave much to be desired. Decisively improve your store's experience with Magic Zoom - the best Joomla image zoom extension.Wherever you want
You can enable Magic Zoom wherever you desire. It's quick and easy, with over 40 popular customisation options. Automatically enable it on VirtueMart product pages too, if you're planning to use Joomla as an ecommerce store.Fast and convenient
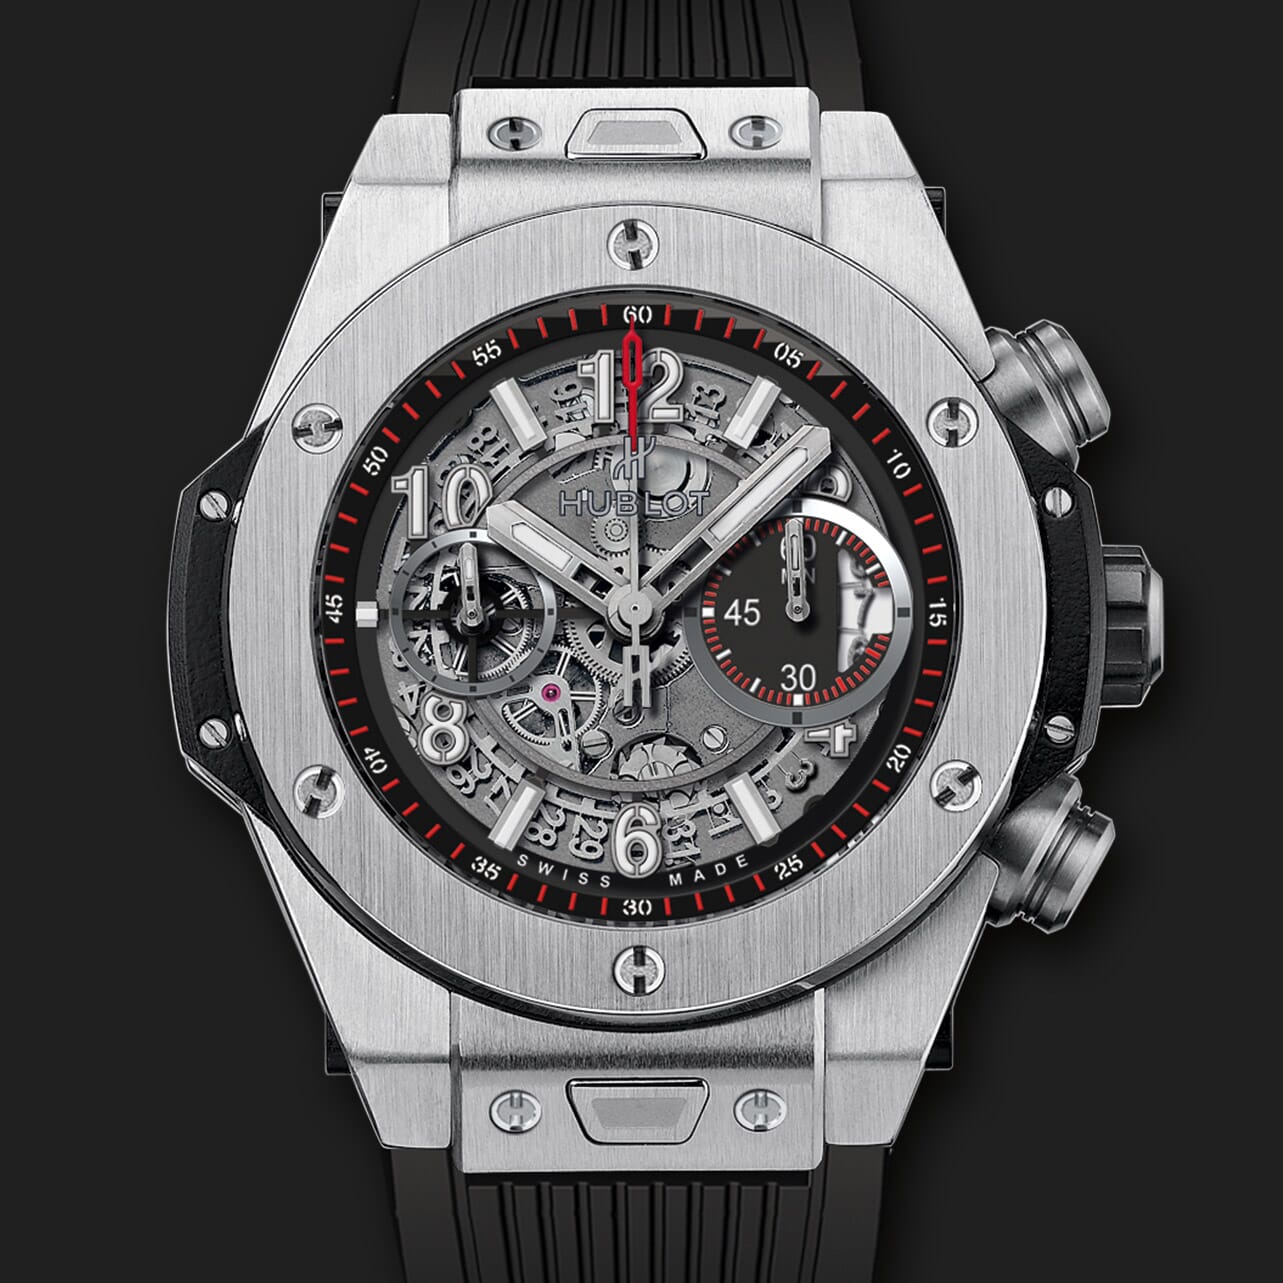
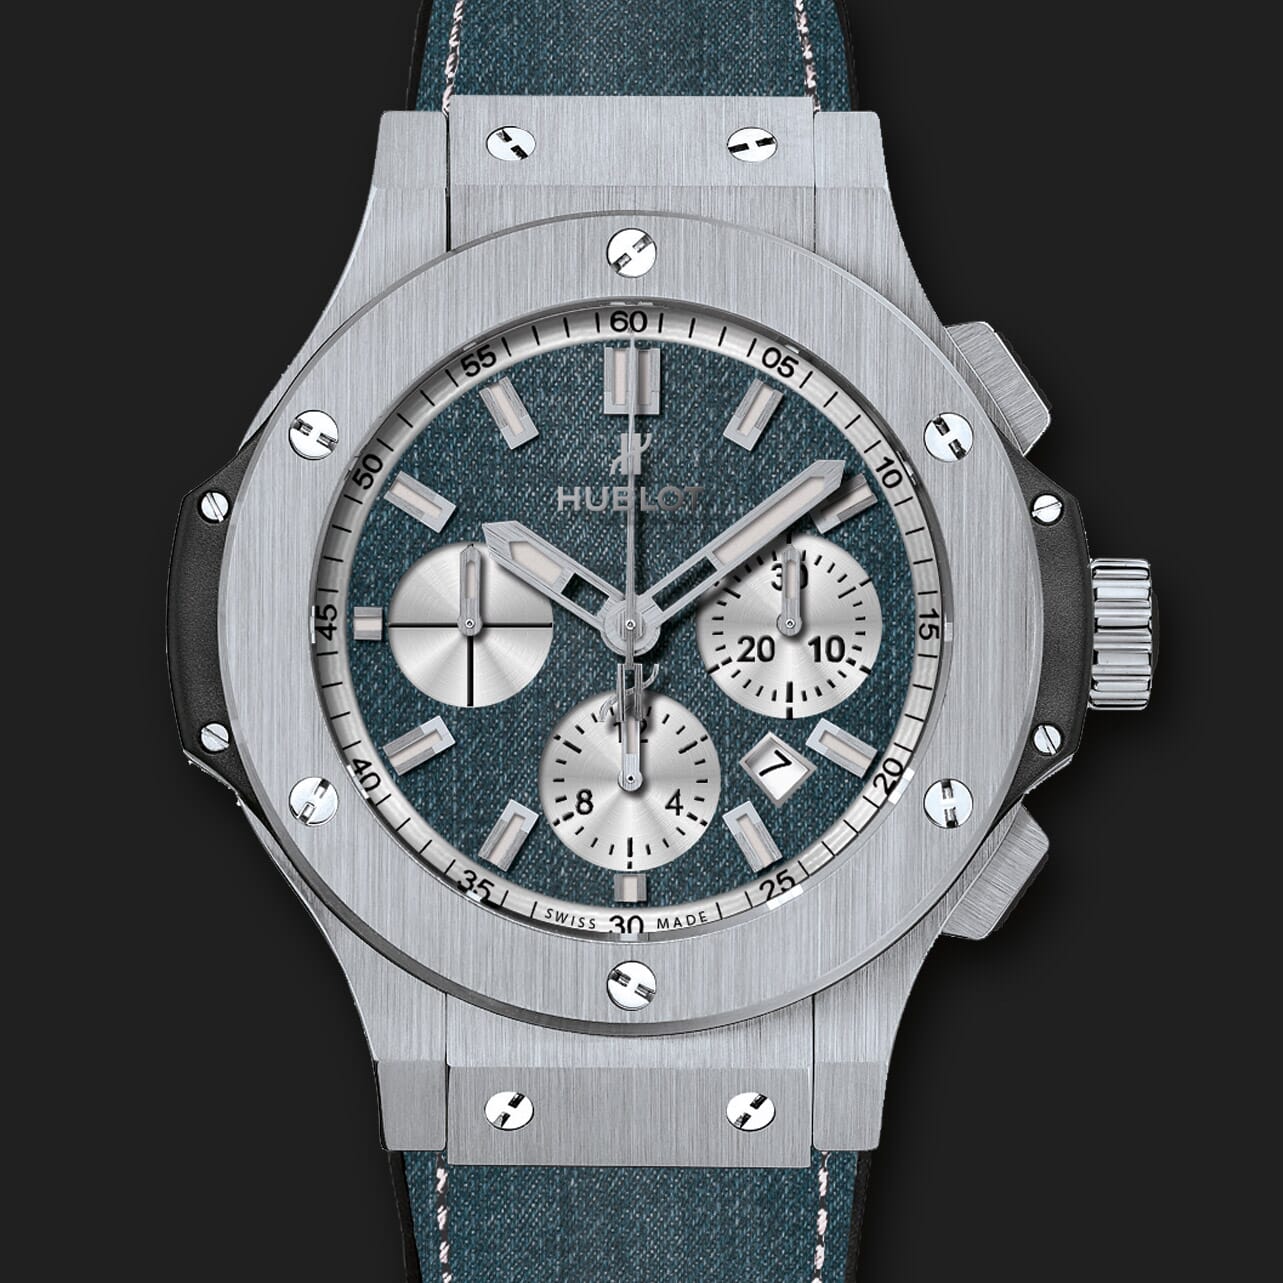
Image caching and lazy loading are perfect to make your store load faster than ever. Your customers (especially ones who use mobile devices) will not abandon your site, tired of waiting for images to load. Talking of mobile devices, users will love Magic Zoom's swipe and tap gestures.Screenshots

Installation
- Download the Magic Zoom component for Joomla content (free and fully functional demo version).
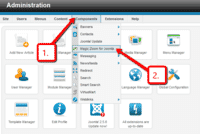
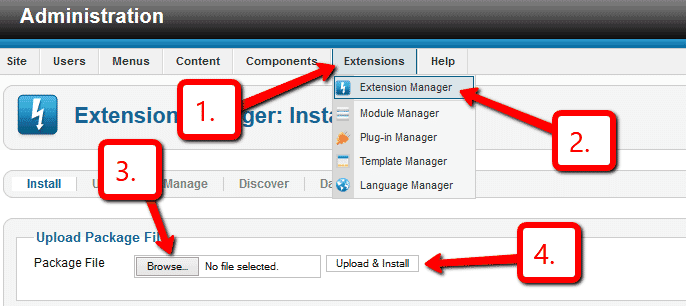
 Upload it via your Joomla admin panel Extensions > Extension Manager > Browse File > Click 'Upload & Install'. Component will automatically enable.
To zoom an image, put a small image into your content (either by using TinyMCE image wizard or using mos_image extension). Then link it to your large image with a class of MagicZoom e.g.
<a href="large.jpg" class="MagicZoom"><img src="small.jpg"></a>
- That's all!
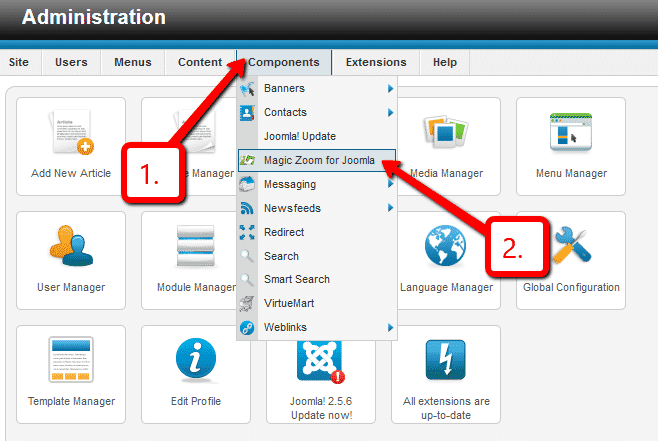
 Customize Magic Zoom how you want. Go to Components > Magic Zoom for Joomla
- Buy Magic Zoom To upgrade your free and fully functional trial version of Magic Zoom (which removes the "Trial version" text), buy Magic Zoom and overwrite following file with the same one from your licensed version:
/media/plg_system_magiczoom/magiczoom.js
- Download the Magic Zoom component for Joomla content (free and fully functional demo version).
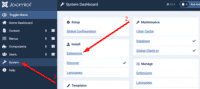 Upload it via your Joomla admin panel System > Install > Extensions > Browse File.
To zoom an image, put a small image into your content (using TinyMCE image wizard). Then link it to your large image with a class of MagicZoom e.g.
<a href="large.jpg" class="MagicZoom"><img src="small.jpg"></a>
- That's all!
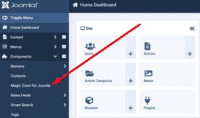 Customize Magic Zoom how you want. Go to Components > Magic Zoom for Joomla.
- Buy Magic Zoom To upgrade your free and fully functional trial version of Magic Zoom (which removes the "Trial version" text), buy Magic Zoom and overwrite following file with the same one from your licensed version:
/media/plg_system_magiczoom/magiczoom.js


Uninstallation
Thanks for trying Magic Zoom on your Joomla site! What did you hope Magic Zoom could do? How can we improve it? Let us know, we're always improving our tools based on customer feedback.
- Delete Magic Zoom code from your content.
- Go to: Extensions > Plugin Manager > Disable plugin.
- Go to: Extensions > Extension Manager > Manage > Add tick in box next to Magic Zoom for Joomla > Click 'Uninstall'.
- Magic Zoom is now uninstalled.
- Delete Magic Zoom code from your content.
- Go to: System > Manage > Extensions.
- Search 'Magic Zoom' > Add tick in box next to Magic Zoom for Joomla > Click 'Uninstall'.
- Magic Zoom is now uninstalled.
Miguel La Rose, vintagesunglasseslondon.com Max CurzioCustomer reviews
Submit your review
Your review has been received and will be posted soon.
Other Joomla components
Try our other great image effects!
 Magic Zoom Plus
 Magic Thumb
 Magic 360
 Magic Scroll
 Magic Slideshow