extensions
Improve your Miva online shop
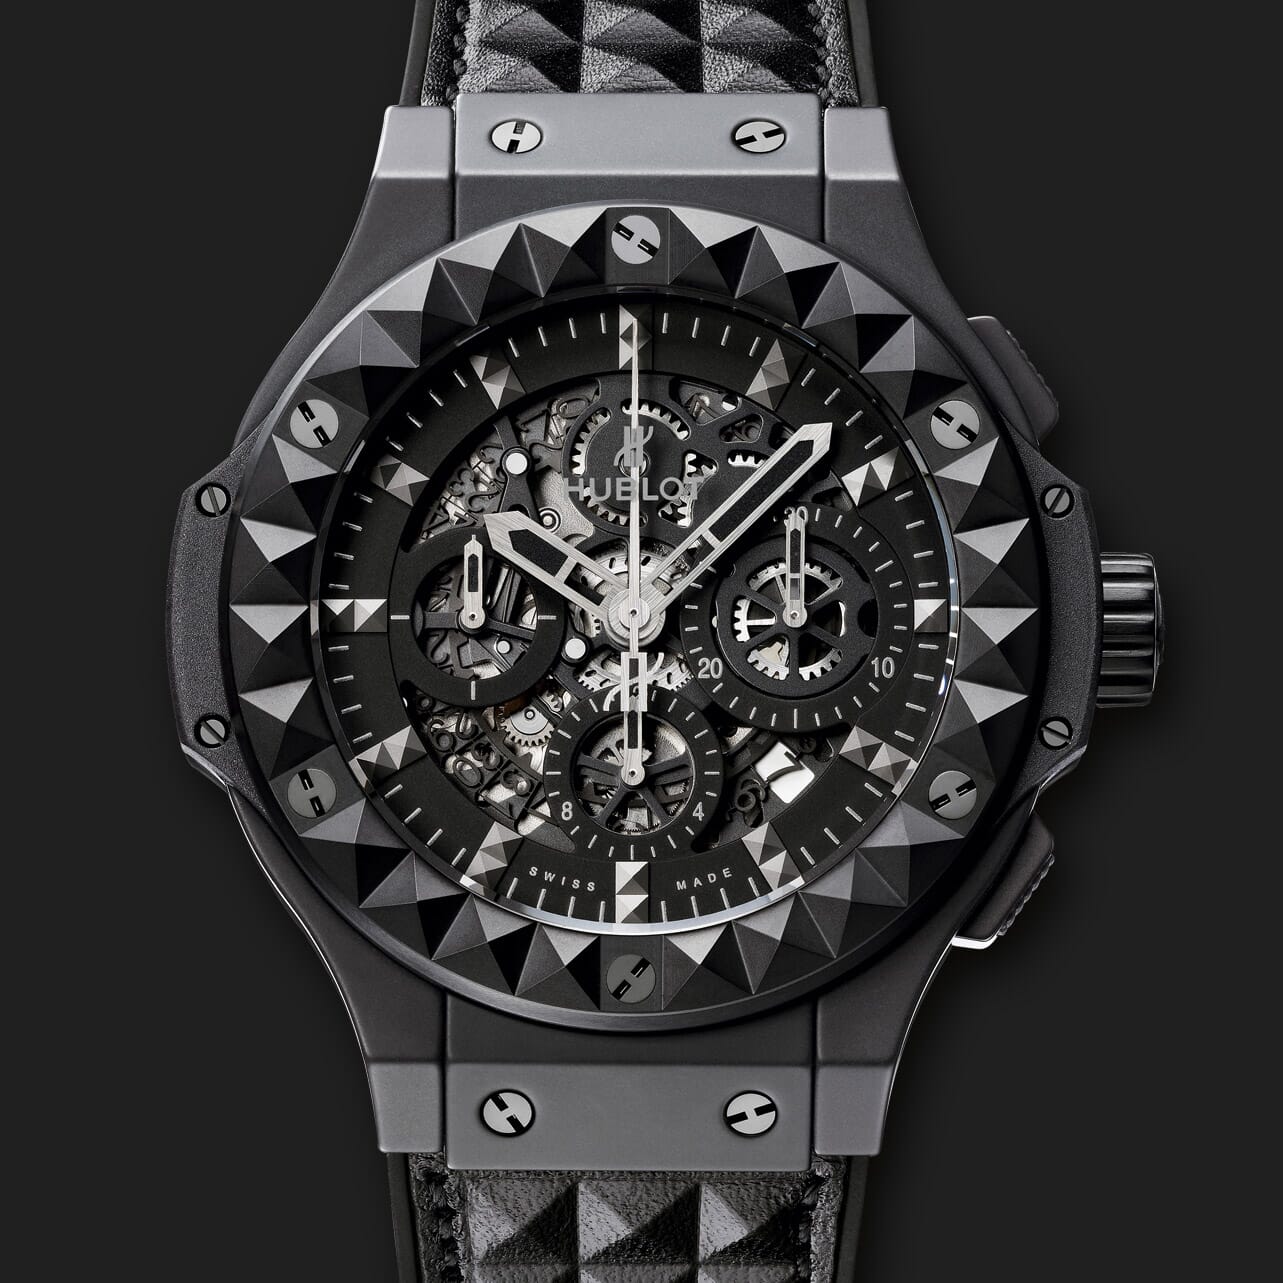
Miva Merchant is a flexible and secure ecommerce platform that is easy to get started with. However, it lacks good image zoom tools, so you need an addon to make your store look more professional and elegant.
That's why you need Magic Toolbox. These 3 magnificent image effects below will excite your customers, pushing them towards buying your products. The all-time favourite, Magic Zoom Plus, is a beautiful image zoom module which zooms & enlarges product images. For lower budgets, choose either the clean and simple Magic Zoom (zoom) or the graceful Magic Thumb (lightbox).
     | |
Magic Zoom Plus for Miva Merchant
The premium Miva zoom plugin - for those wishing to maximise sales.
- Delightful to use on mobiles and desktops alike.
- Zoom on hover, enlarge on click - best of both worlds.
- All latest versions
98% of shoppers say its their favourite zoom
Responsive
Fast loading
SEO friendly
Supports video
Easy to customise
Switchable thumbnails
Friendly support
One-off payment
jQuery compatible
Regularly updated
Lazy loading
Optimised for mobile
Miva 5.5 PR8 with Image Machine installation
- Download Magic Zoom Plus (free and fully functional demo version).
- Unzip the file and upload the magiczoomplus folder to this location on your Miva website:
httpdocs/magiczoomplus
- Download this file: magic-miva-imagemachine.js (right click it and "Save as"), then copy that file to the magiczoomplus folder.
- In your Miva admin panel, go to the User Interface > Pages menu.
- Find the page Product Display with ID=PROD and click the Edit button on the right.
- Insert the following code in the Template section (before tag):
<link rel="stylesheet" href="/magiczoomplus/magiczoomplus.css">
<script src="/magiczoomplus/magiczoomplus.js"></script>
<script src="/magiczoomplus/magic-miva-imagemachine.js?tool=MagicZoomPlus"></script>
- Click the Update button at the bottom of the page.
- Now your images should zoom! Contact us if you need help.
- Buy Magic Zoom Plus To upgrade your free and fully functional trial version of Magic Zoom Plus (which removes the "Trial version" text), buy Magic Zoom Plus. Then overwrite the demo magiczoomplus.js file with the one from your licensed version.
Miva 5.5 installation
- Download Magic Zoom Plus (free and fully functional demo version).
- Unzip the file and upload the magiczoomplus folder to this location on your Miva website:
httpdocs/magiczoomplus
- In your Miva admin panel, go to the Pages menu.
- Find the page Product Display with ID=PROD and click the Edit button on the right.
- At the top, click the link "Product Display Layout".
- Find the line:
<img src="&mvt:product:image;" alt="&mvt:product:name;" title="&mvt:product:name;" vspace="10" width="300">
and replace it with:<mvt:if expr="NOT ISNULL l.settings:product:customfield_values:customfields:ZoomImage"> <a id="mtbMainImage" href="&mvt:product:customfield_values:customfields:ZoomImage;" class="MagicZoom"> </mvt:if> <img src="&mvt:product:image;" alt="&mvt:product:name;" title="&mvt:product:name;" vspace="10" width="300"> <mvt:if expr="NOT ISNULL l.settings:product:customfield_values:customfields:ZoomImage"> </a> </mvt:if>
- The next 4 steps will add 2 alternative product images with thumbnails (so your page will show 3 product images in total). There is no standard method for adding multiple product images on a Miva page, so you may need to adjust these instructions for your site. Find this line:
<a href="javascript:IM_ZoomPopup('AltView1');"><img src="&mvt:product:customfield_values:customfields:AltView1Thm;" class="Mini" width="75"></a>and replace it with:<a href="&mvt:product:customfield_values:customfields:AltView1;" data-zoom-id="mtbMainImage" data-image="&mvt:product:customfield_values:customfields:AltView1;"><img src="&mvt:product:customfield_values:customfields:AltView1Thm;" class="Mini" width="75"></a>
- Find this line:
<a href="javascript:IM_ZoomPopup('AltView1');"><img src="&mvt:product:customfield_values:customfields:AltView1;" class="Mini" width="75"></a>and replace it with:<a href="&mvt:product:customfield_values:customfields:AltView1;" data-zoom-id="mtbMainImage" data-image="&mvt:product:customfield_values:customfields:AltView1;"><img src="&mvt:product:customfield_values:customfields:AltView1;" class="Mini" width="75"></a>
- Find this line:
<a href="javascript:IM_ZoomPopup('AltView2');"><img src="&mvt:product:customfield_values:customfields:AltView2Thm;" class="Mini" width="75"></a>and replace it with:<a href="&mvt:product:customfield_values:customfields:AltView2;" data-zoom-id="mtbMainImage" data-image="&mvt:product:customfield_values:customfields:AltView2;"><img src="&mvt:product:customfield_values:customfields:AltView2Thm;" class="Mini" width="75"></a>
- Find this line:
<a href="javascript:IM_ZoomPopup('AltView2');"><img src="&mvt:product:customfield_values:customfields:AltView2;" class="Mini" width="75"></a>and replace it with:<a href="&mvt:product:customfield_values:customfields:AltView2;" data-zoom-id="mtbMainImage" data-image="&mvt:product:customfield_values:customfields:AltView2;"><img src="&mvt:product:customfield_values:customfields:AltView2;" class="Mini" width="75"></a>
- Find this line:
<a href="javascript:IM_ZoomPopup('Zoom');"><img src="&mvt:product:customfield_values:customfields:ZoomThm;" class="MagicZoom" width="75"></a>and replace it with:<a href="&mvt:product:customfield_values:customfields:ZoomImage;" data-zoom-id="mtbMainImage" data-image="&mvt:product:customfield_values:customfields:ZoomImage;"><img src="&mvt:product:customfield_values:customfields:ZoomThm;" class="Mini" width="75"></a>
- Find this line:
<a href="javascript:IM_ZoomPopup('Zoom');"><img src="&mvt:product:customfield_values:customfields:ZoomImage;" class="MagicZoom" width="75"></a>and replace it with:<a href="&mvt:product:customfield_values:customfields:ZoomImage;" data-zoom-id="mtbMainImage" data-image="&mvt:product:customfield_values:customfields:ZoomImage;"><img src="&mvt:product:customfield_values:customfields:ZoomImage;" class="Mini" width="75"></a>
- Click the Update button at the bottom of the page when finished.
- At the top, click the link "HEAD Tag Content/CSS".
- Insert the following lines at the top of template:
<link rel="stylesheet" href="/magiczoomplus/magiczoomplus.css"> <script src="/magiczoomplus/magiczoomplus.js"></script>
- Click the Update button at the bottom of the page.
- Enjoy!
- Buy Magic Zoom Plus To upgrade your free and fully functional trial version of Magic Zoom Plus (which removes the "Trial version" text), buy Magic Zoom Plus. Then overwrite the demo magiczoomplus.js file with the one from your licensed version.
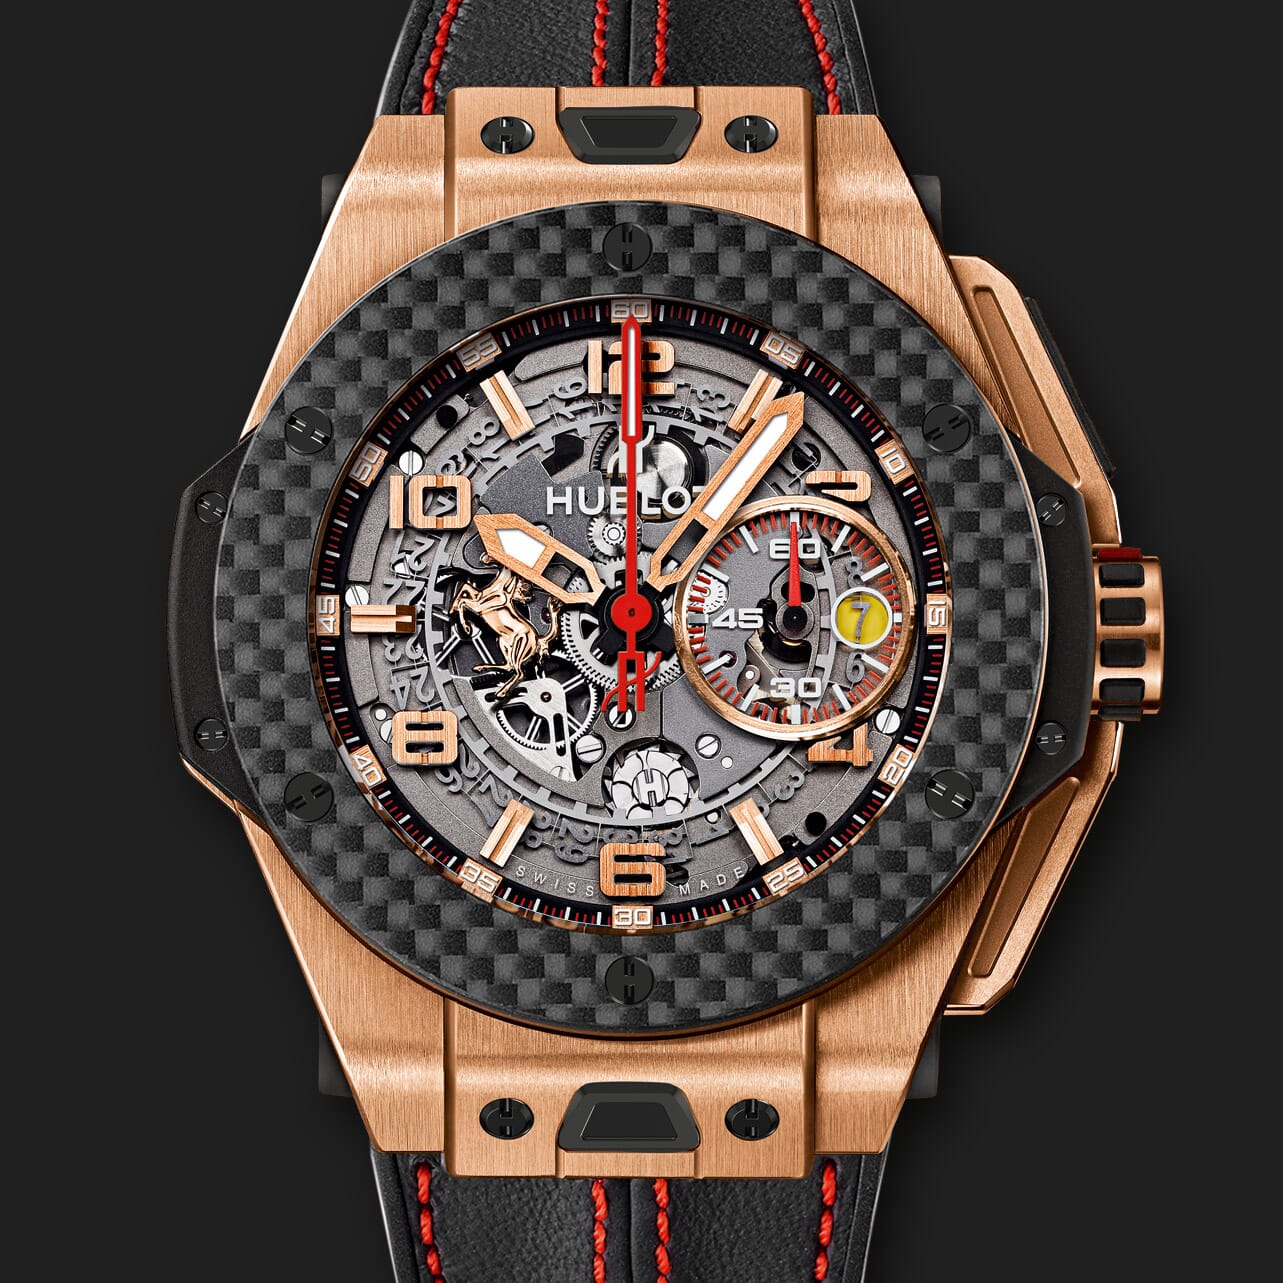
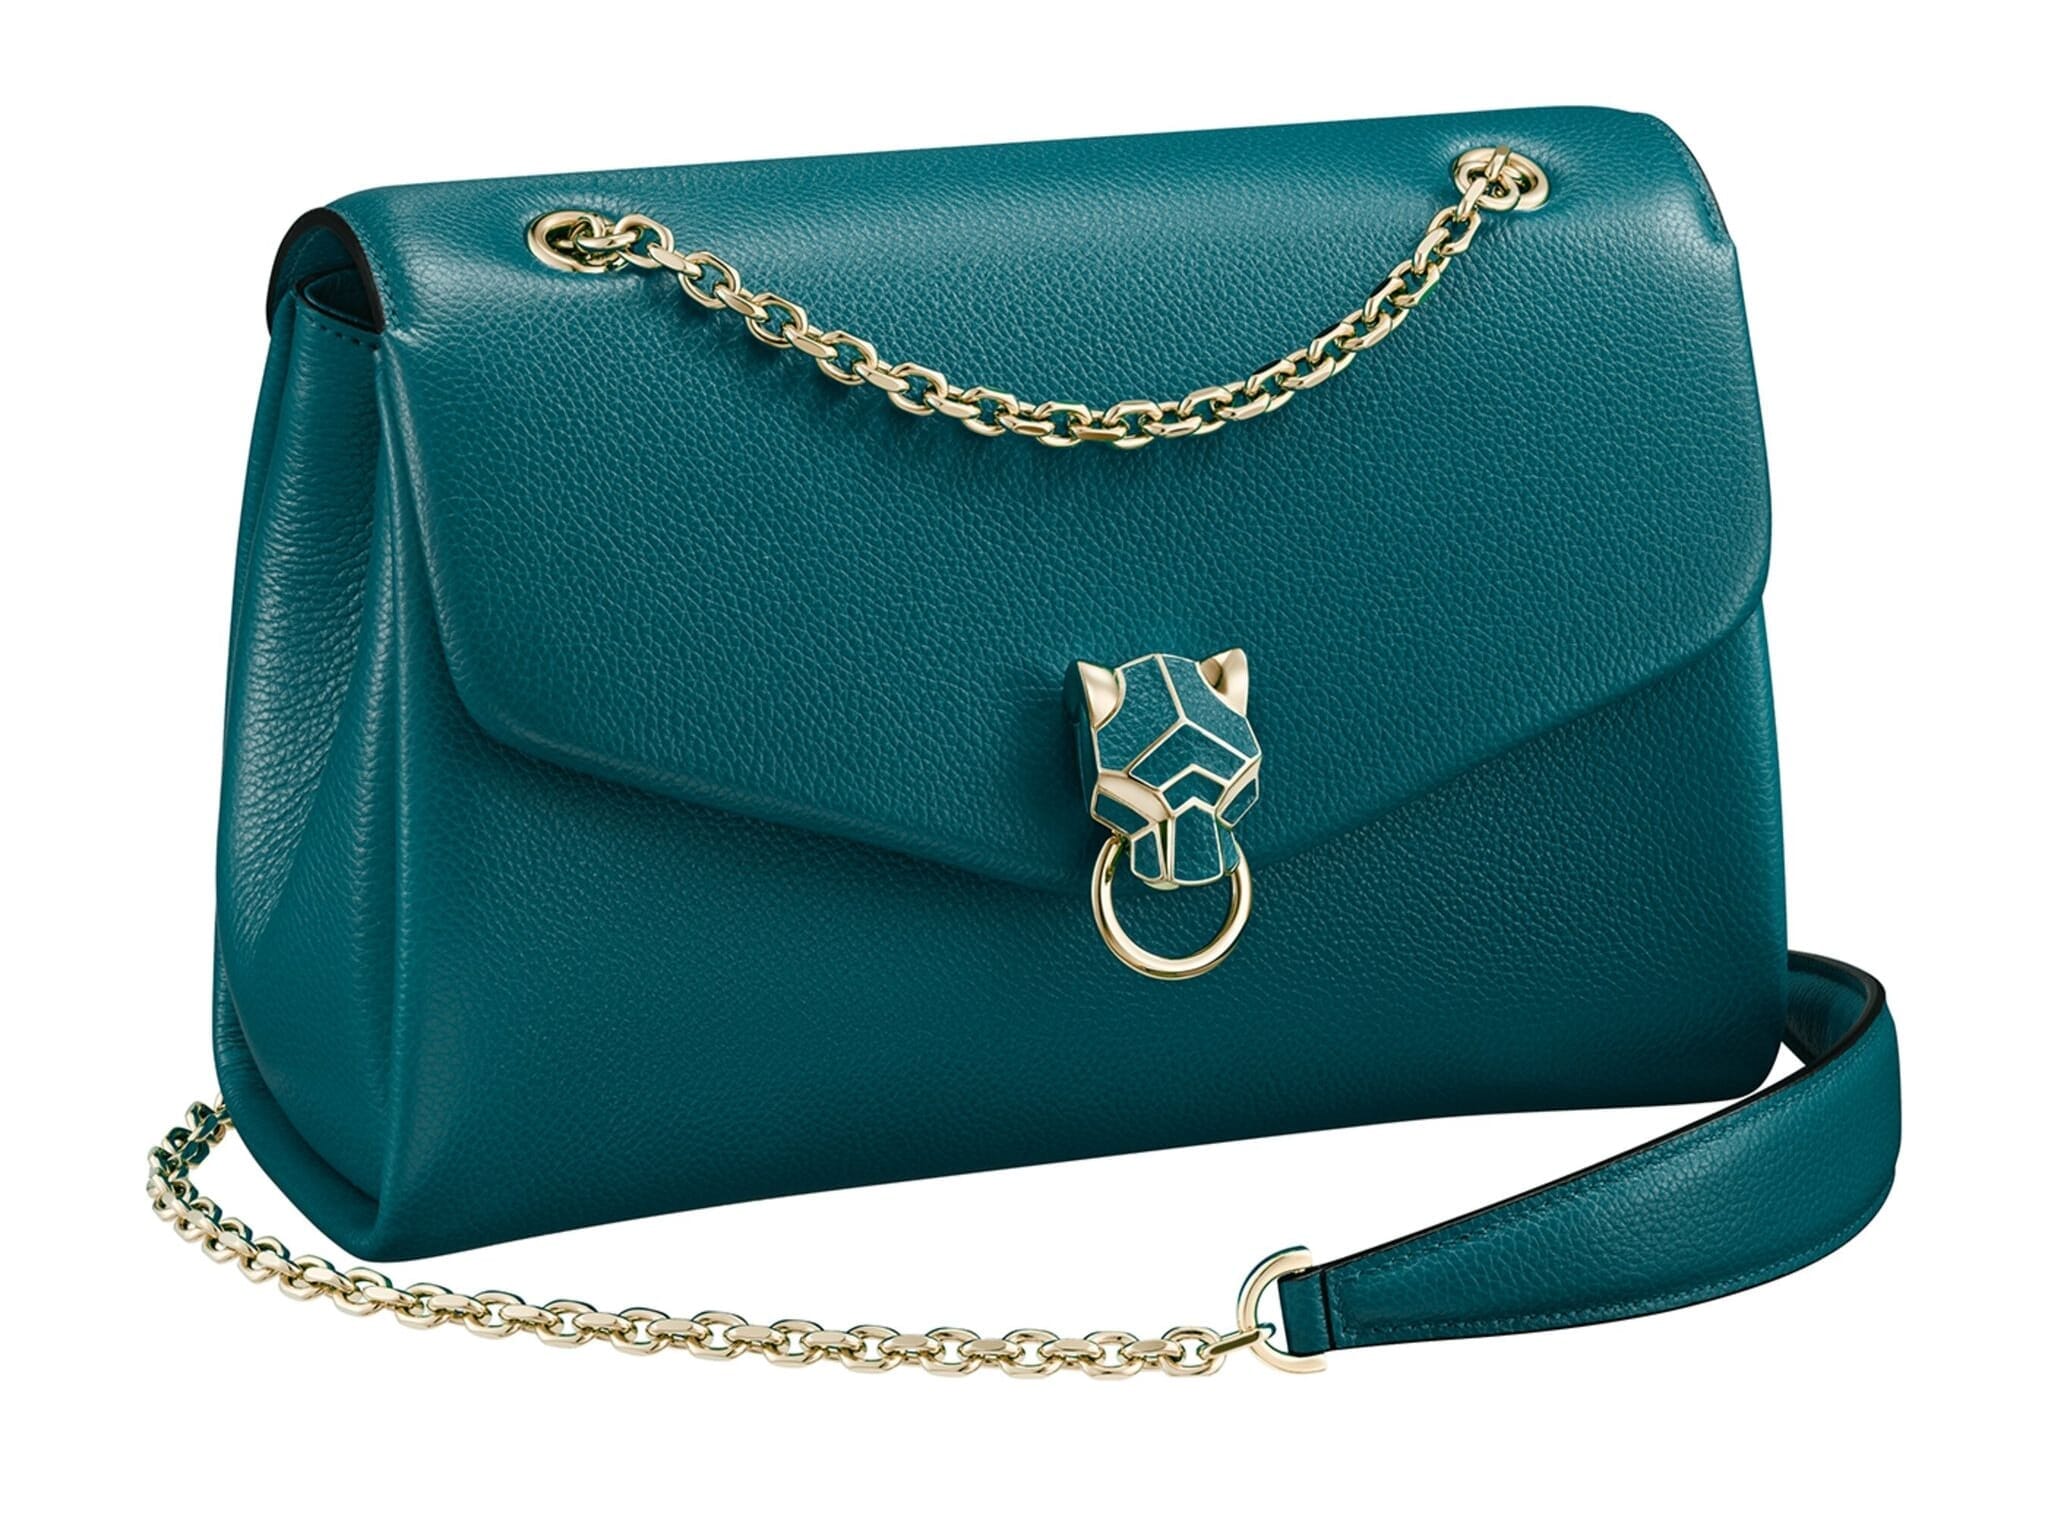
Product attributes


Do your products come in different colours or styles?Each product within a Miva ecommerce store offers the option to add attributes.
A perfect way to display all colours, sizes, prices, styles of your items.
Magic Zoom Plus supports Miva Merchant product attributes out of the box.
Thanks for trying Magic Zoom Plus on your Miva Merchant site! What did you hope Magic Zoom Plus could do? How can we improve it? Let us know, we're always improving our tools based on customer feedback.
Miva 5.5 PR8 with Image Machine uninstallation
- In your Miva admin panel, go to the User Interface > Pages menu.
- Find the page Product Display with ID=PROD and click the Edit button on the right.
- At the top, click the link "HEAD Tag Content/CSS".
- Delete the following lines from the top of template:
<link rel="stylesheet" href="/magiczoomplus/magiczoomplus.css"> <script src="/magiczoomplus/magiczoomplus.js"></script> <script src="/magiczoomplus/magic-miva-imagemachine.js?tool=MagicZoomPlus"></script>
- Click the Update button at the bottom of the page.
- Delete the magiczoomplus folder from this location on your Miva website:
httpdocs/magiczoomplus
- Magic Zoom Plus is now uninstalled.
Miva 5.5 uninstallation
- In your Miva admin panel, go to the Pages menu.
- Find the page Product Display with ID=PROD and click the Edit button on the right.
- At the top, click the link "HEAD Tag Content/CSS".
- Delete the following lines from the top of template:
<link rel="stylesheet" href="/magiczoomplus/magiczoomplus.css"> <script src="/magiczoomplus/magiczoomplus.js"></script>
- At the top, click the link "Product Display Layout".
- Find the code:
<mvt:if expr="NOT ISNULL l.settings:product:customfield_values:customfields:ZoomImage">
<a id="mtbMainImage" href="&mvt:product:customfield_values:customfields:ZoomImage;" class="MagicZoom">
</mvt:if>
<img src="&mvt:product:image;" alt="&mvt:product:name;" title="&mvt:product:name;" vspace="10" width="300">
<mvt:if expr="NOT ISNULL l.settings:product:customfield_values:customfields:ZoomImage">
</a>
</mvt:if>
and replace it with:<img src="&mvt:product:image;" alt="&mvt:product:name;" title="&mvt:product:name;" vspace="10" width="300">
- If you added 2 alternative product images with thumbnails as part of the installation, then reverse Steps 7, 8, 9, 10, 11 & 12 from the Installation instructions > Click the Update button at the bottom of the page.
- Delete the magiczoomplus folder from this location on your Miva website:
httpdocs/magiczoomplus
- Magic Zoom Plus is now uninstalled.

Magic Zoom Plus for Miva Merchant
    | |
Magic Zoom for Miva Merchant
Instantly bring refinement to your Miva product images.
- Responsive design adapts to your design on any device.
- Smooth zoom movement, for a refined experience.
- All latest versions
93% of users say it boosted their sales
Responsive
Fast loading
SEO friendly
Supports video
Easy to customise
Switchable thumbnails
Friendly support
One-off payment
Regularly updated
jQuery compatible
On-demand loading
Optimised for mobile
Miva 5.5 PR8 with Image Machine installation
- Download Magic Zoom (free and fully functional demo version).
- Unzip the file and upload the magiczoom folder to this location on your Miva website:
httpdocs/magiczoom
- Download this file: magic-miva-imagemachine.js (right click it and "Save as"), then copy that file to the magiczoom folder.
- In your Miva admin panel, go to the User Interface > Pages menu.
- Find the page Product Display with ID=PROD and click the Edit button on the right.
- Insert the following code in the Template section (before tag):
<link rel="stylesheet" href="/magiczoom/magiczoom.css"> <script src="/magiczoom/magiczoom.js"></script> <script src="/magiczoom/magic-miva-imagemachine.js?tool=MagicZoom"></script>
- Click the Update button at the bottom of the page.
- Now your images should zoom! Contact us if you need help.
- Buy Magic Zoom To upgrade your free and fully functional trial version of Magic Zoom (which removes the "Trial version" text), buy Magic Zoom. Then overwrite the demo magiczoom.js file with the one from your licensed version.
Miva 5.5 installation
- Download Magic Zoom (free and fully functional demo version).
- Unzip the file and upload the magiczoom folder to this location on your Miva website:
httpdocs/magiczoom
- In your Miva admin panel, go to the Pages menu.
- Find the page Product Display with ID=PROD and click the Edit button on the right.
- At the top, click the link "Product Display Layout".
- Find the line:
<img src="&mvt:product:image;" alt="&mvt:product:name;" title="&mvt:product:name;" vspace="10" width="300">
and replace it with:<mvt:if expr="NOT ISNULL l.settings:product:customfield_values:customfields:ZoomImage"> <a id="mtbMainImage" href="&mvt:product:customfield_values:customfields:ZoomImage;" class="MagicZoom"> </mvt:if> <img src="&mvt:product:image;" alt="&mvt:product:name;" title="&mvt:product:name;" vspace="10" width="300"> <mvt:if expr="NOT ISNULL l.settings:product:customfield_values:customfields:ZoomImage"> </a> </mvt:if>
- The next 4 steps will add 2 alternative product images with thumbnails (so your page will show 3 product images in total). There is no standard method for adding multiple product images on a Miva page, so you may need to adjust these instructions for your site. Find this line:
<a href="javascript:IM_ZoomPopup('AltView1');"><img src="&mvt:product:customfield_values:customfields:AltView1Thm;" class="Mini" width="75"></a>and replace it with:<a href="&mvt:product:customfield_values:customfields:AltView1;" data-zoom-id="mtbMainImage" data-image="&mvt:product:customfield_values:customfields:AltView1;"><img src="&mvt:product:customfield_values:customfields:AltView1Thm;" class="Mini" width="75"></a>
- Find this line:
<a href="javascript:IM_ZoomPopup('AltView1');"><img src="&mvt:product:customfield_values:customfields:AltView1;" class="Mini" width="75"></a>and replace it with:<a href="&mvt:product:customfield_values:customfields:AltView1;" data-zoom-id="mtbMainImage" data-image="&mvt:product:customfield_values:customfields:AltView1;"><img src="&mvt:product:customfield_values:customfields:AltView1;" class="Mini" width="75"></a>
- Find this line:
<a href="javascript:IM_ZoomPopup('AltView2');"><img src="&mvt:product:customfield_values:customfields:AltView2Thm;" class="Mini" width="75"></a>and replace it with:<a href="&mvt:product:customfield_values:customfields:AltView2;" data-zoom-id="mtbMainImage" data-image="&mvt:product:customfield_values:customfields:AltView2;"><img src="&mvt:product:customfield_values:customfields:AltView2Thm;" class="Mini" width="75"></a>
- Find this line:
<a href="javascript:IM_ZoomPopup('AltView2');"><img src="&mvt:product:customfield_values:customfields:AltView2;" class="Mini" width="75"></a>and replace it with:<a href="&mvt:product:customfield_values:customfields:AltView2;" data-zoom-id="mtbMainImage" data-image="&mvt:product:customfield_values:customfields:AltView2;"><img src="&mvt:product:customfield_values:customfields:AltView2;" class="Mini" width="75"></a>
- Find this line:
<a href="javascript:IM_ZoomPopup('Zoom');"><img src="&mvt:product:customfield_values:customfields:ZoomThm;" class="MagicZoom" width="75"></a>and replace it with:<a href="&mvt:product:customfield_values:customfields:ZoomImage;" data-zoom-id="mtbMainImage" data-image="&mvt:product:customfield_values:customfields:ZoomImage;"><img src="&mvt:product:customfield_values:customfields:ZoomThm;" class="Mini" width="75"></a>
- Find this line:
<a href="javascript:IM_ZoomPopup('Zoom');"><img src="&mvt:product:customfield_values:customfields:ZoomImage;" class="MagicZoom" width="75"></a>and replace it with:<a href="&mvt:product:customfield_values:customfields:ZoomImage;" data-zoom-id="mtbMainImage" data-image="&mvt:product:customfield_values:customfields:ZoomImage;"><img src="&mvt:product:customfield_values:customfields:ZoomImage;" class="Mini" width="75"></a>
- Click the Update button at the bottom of the page when finished.
- At the top, click the link "HEAD Tag Content/CSS".
- Insert the following lines at the top of template:
<link rel="stylesheet" href="/magiczoom/magiczoom.css"> <script src="/magiczoom/magiczoom.js"></script>
- Click the Update button at the bottom of the page.
- Enjoy!
- Buy Magic Zoom To upgrade your free and fully functional trial version of Magic Zoom (which removes the "Trial version" text), buy Magic Zoom. Then overwrite the demo magiczoom.js file with the one from your licensed version.
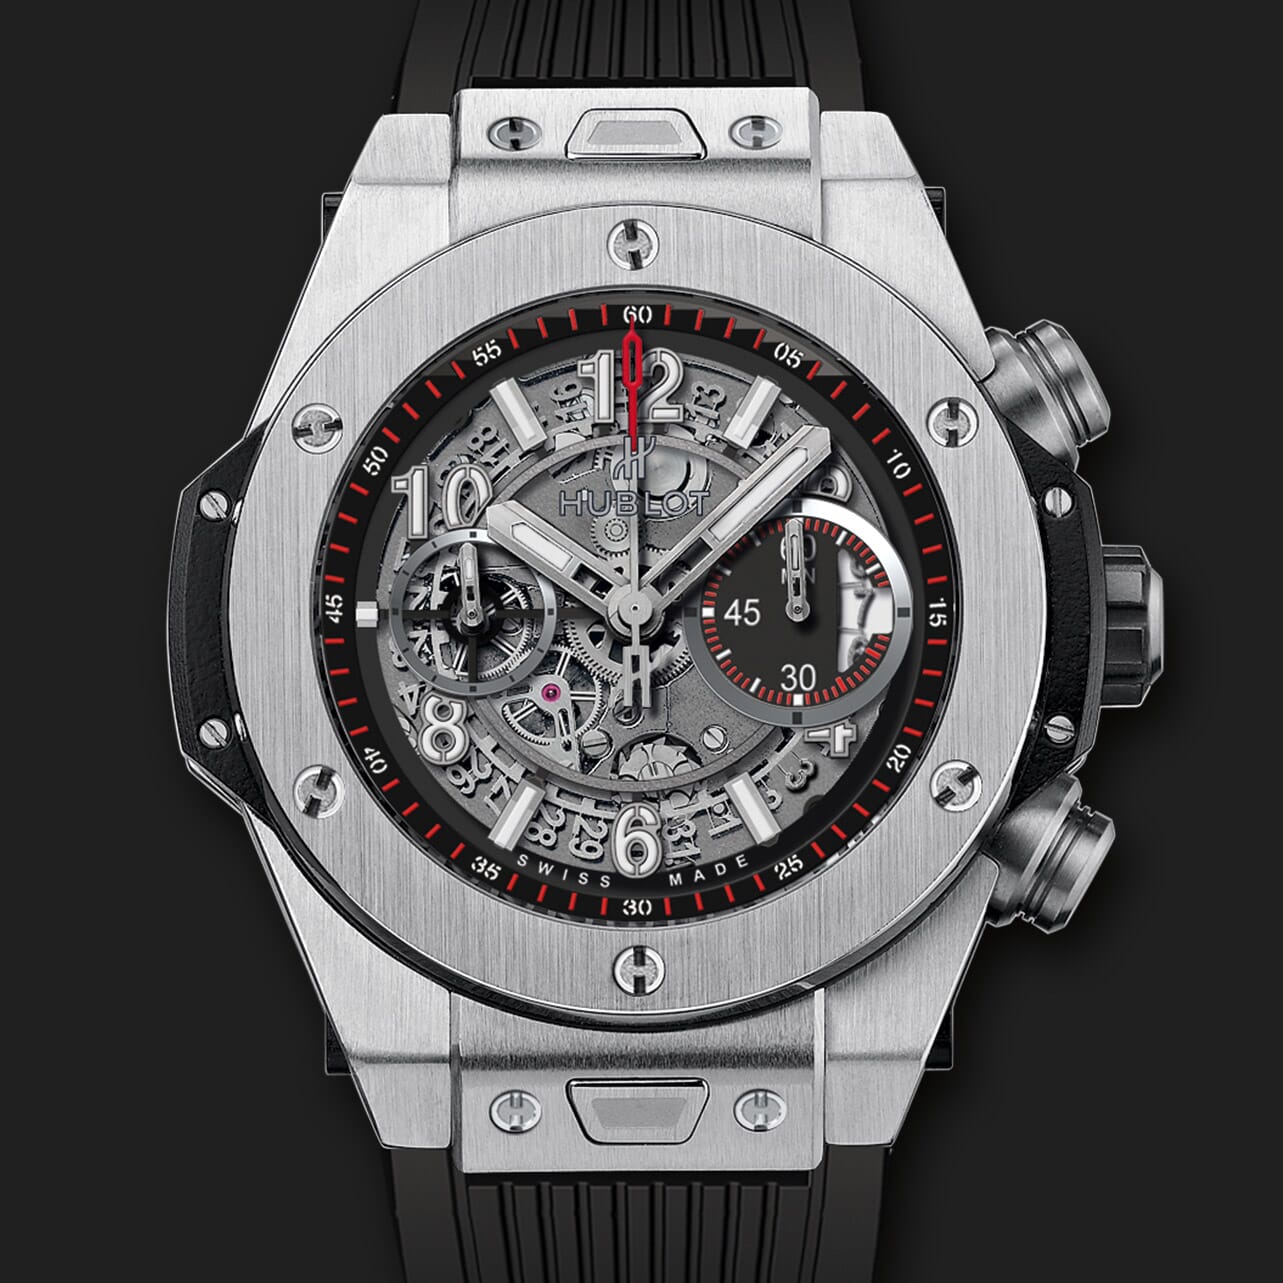
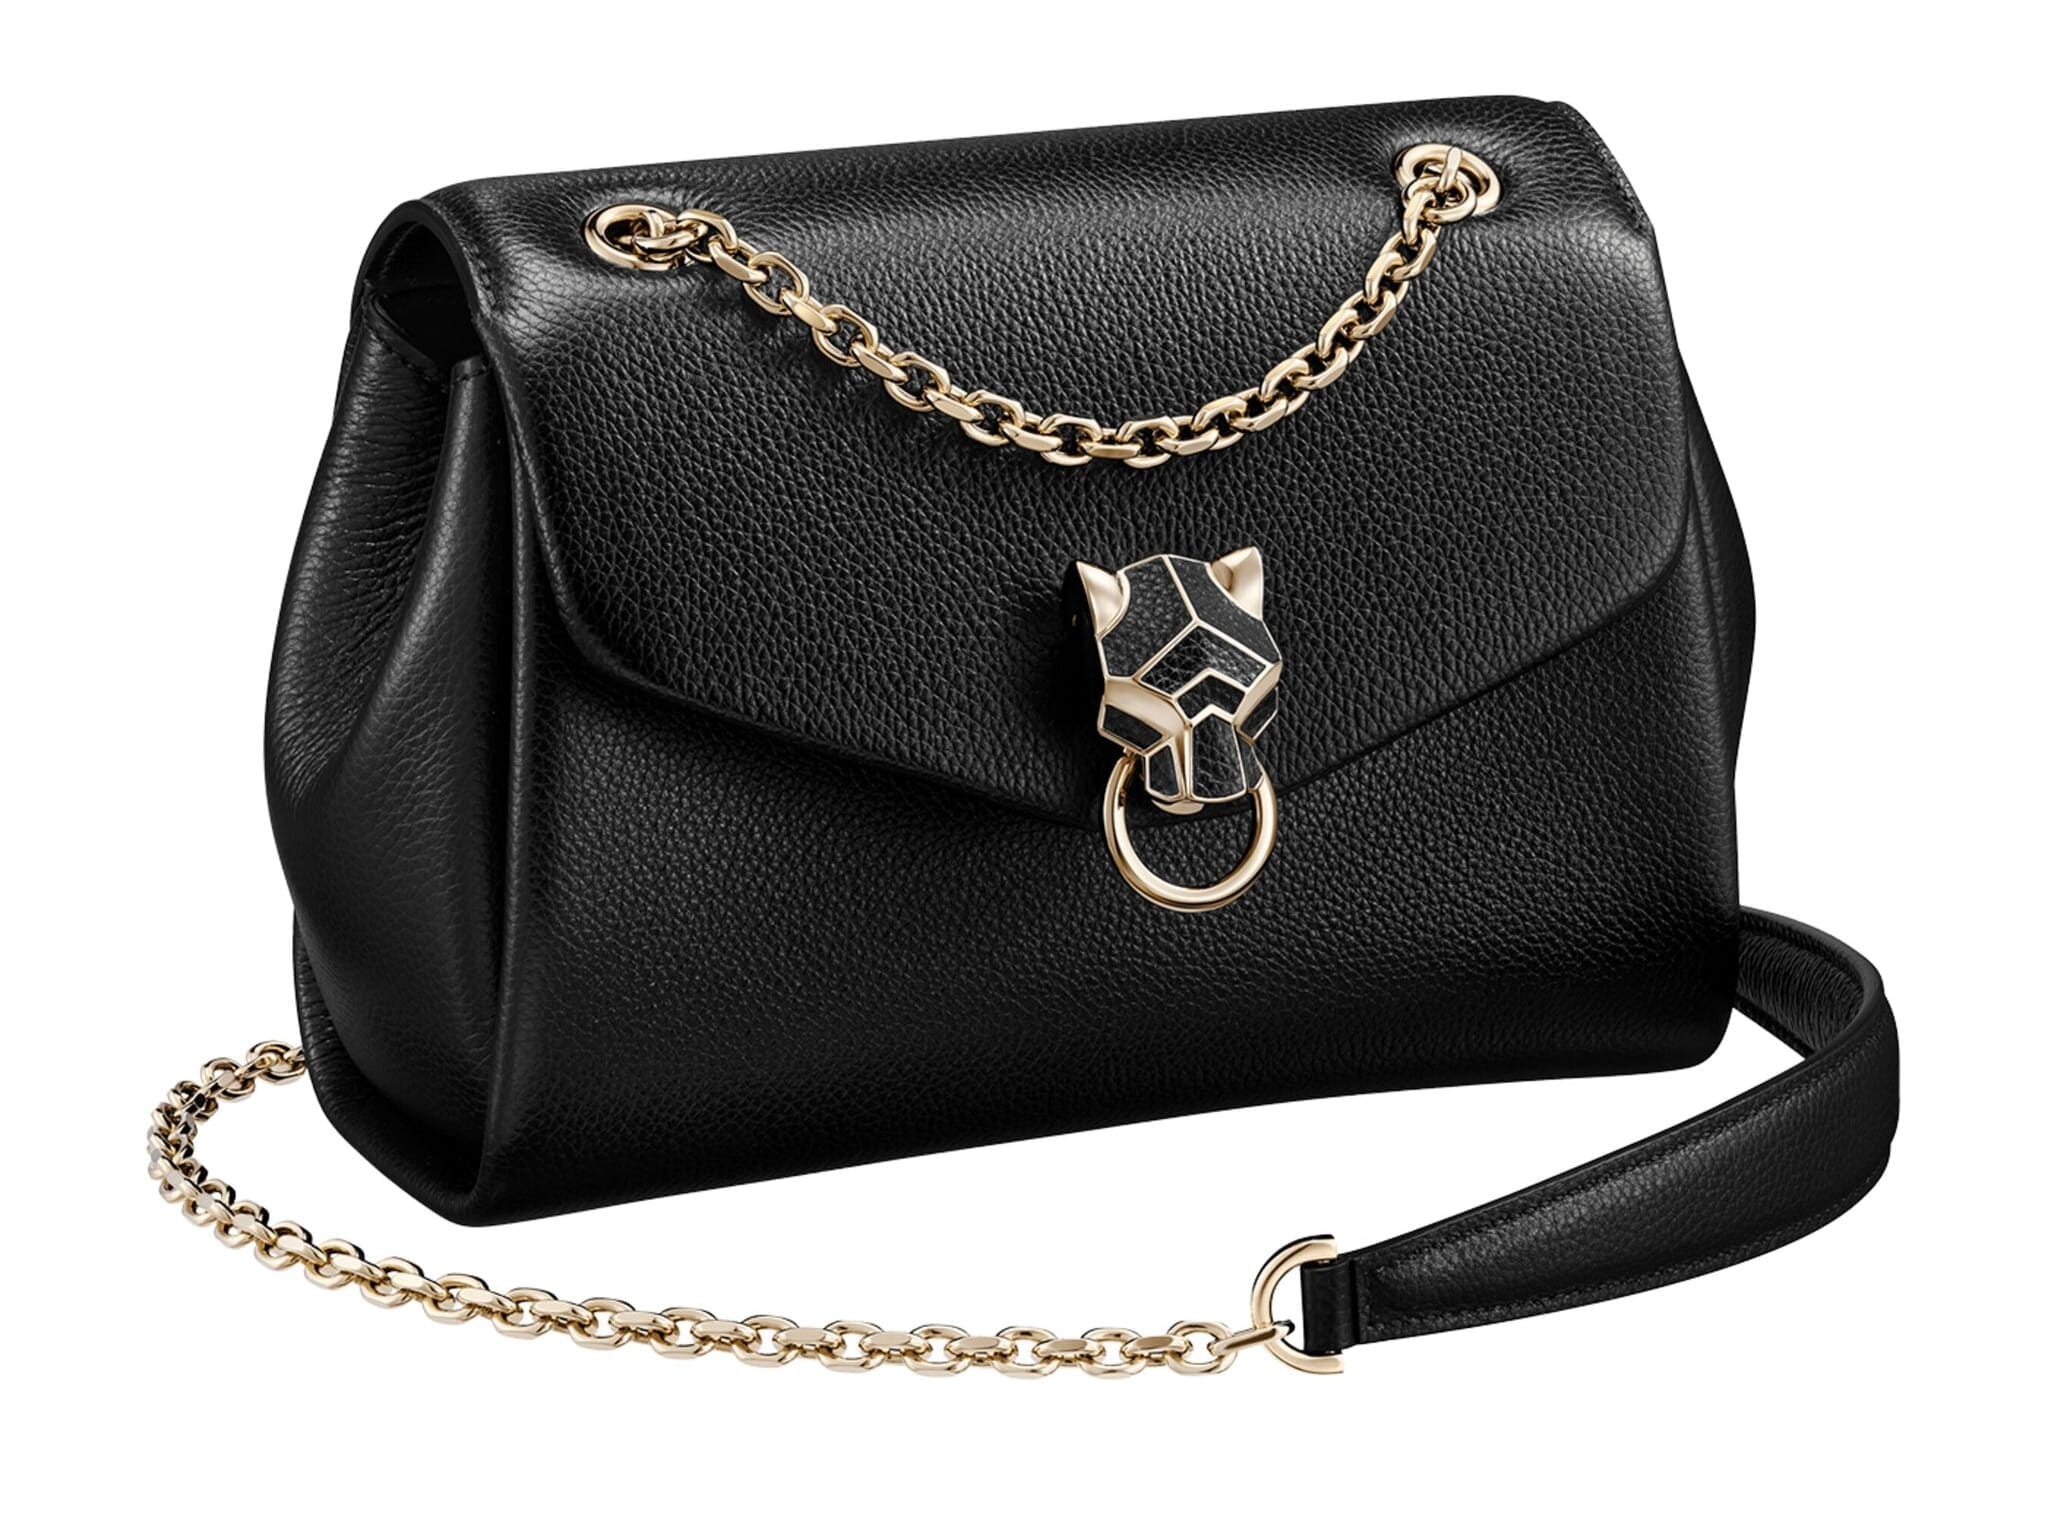
Product attributes
Do your products come in different colours or styles?Each product within a Miva ecommerce store offers the option to add attributes.
A perfect way to display all colours, sizes, prices, styles of your items.
Magic Zoom supports Miva Merchant product attributes out of the box.
Thanks for trying Magic Zoom on your Miva Merchant site! What did you hope Magic Zoom could do? How can we improve it? Let us know, we're always improving our tools based on customer feedback.
Miva 5.5 PR8 with Image Machine uninstallation
- In your Miva admin panel, go to the User Interface > Pages menu.
- Find the page Product Display with ID=PROD and click the Edit button on the right.
- At the top, click the link "HEAD Tag Content/CSS".
- Delete the following lines from the top of template:
<link rel="stylesheet" href="/magiczoom/magiczoom.css"> <script src="/magiczoom/magiczoom.js"></script> <script src="/magiczoom/magic-miva-imagemachine.js?tool=MagicZoom"></script>
- Click the Update button at the bottom of the page.
- Delete the magiczoom folder from this location on your Miva website:
httpdocs/magiczoom
- Magic Zoom is now uninstalled.
Miva 5.5 uninstallation
- In your Miva admin panel, go to the Pages menu.
- Find the page Product Display with ID=PROD and click the Edit button on the right.
- At the top, click the link "HEAD Tag Content/CSS".
- Delete the following lines from the top of template:
<link rel="stylesheet" href="/magiczoom/magiczoom.css"> <script src="/magiczoom/magiczoom.js"></script>
- At the top, click the link "Product Display Layout".
- Find the code:
<mvt:if expr="NOT ISNULL l.settings:product:customfield_values:customfields:ZoomImage">
<a id="mtbMainImage" href="&mvt:product:customfield_values:customfields:ZoomImage;" class="MagicZoom">
</mvt:if>
<img src="&mvt:product:image;" alt="&mvt:product:name;" title="&mvt:product:name;" vspace="10" width="300">
<mvt:if expr="NOT ISNULL l.settings:product:customfield_values:customfields:ZoomImage">
</a>
</mvt:if>
and replace it with:<img src="&mvt:product:image;" alt="&mvt:product:name;" title="&mvt:product:name;" vspace="10" width="300">
- If you added 2 alternative product images with thumbnails as part of the installation, then reverse Steps 7, 8, 9, 10, 11 & 12 from the Installation instructions > Click the Update button at the bottom of the page.
- Delete the magiczoom folder from this location on your Miva website:
httpdocs/magiczoom
- Magic Zoom is now uninstalled.
Magic Zoom for Miva Merchant
    | |
Magic Thumb for Miva Merchant
Optimised for Miva, with beautiful full-screen images.
- Enlarged images automatically fit within the users screen.
- The perfect lightbox experience for your customers.
- All latest versions
92% of users say its the best image lightbox
Responsive
Fast loading
SEO friendly
Lazy loading
Supports video
Friendly support
One-off payment
Regularly updated
jQuery compatible
Swappable thumbnails
Miva 5.5 PR8 with Image Machine installation
- Download Magic Thumb (free and fully functional demo version).
- Unzip the file and upload the magicthumb folder to this location on your Miva website:
httpdocs/magicthumb
- Download this file: magic-miva-imagemachine.js (right click it and "Save as"), then copy that file to the magicthumb folder.
- In your Miva admin panel, go to the User Interface > Pages menu.
- Find the page Product Display with ID=PROD and click the Edit button on the right.
- Insert the following code in the Template section (before tag):
<link rel="stylesheet" href="/magicthumb/magicthumb.css">
<script src="/magicthumb/magicthumb.js"></script>
<script src="/magicthumb/magic-miva-imagemachine.js?tool=MagicThumb"></script>
- Click the Update button at the bottom of the page.
- Now your images should zoom! Contact us if you need help.
- Buy Magic Thumb To upgrade your free and fully functional trial version of Magic Thumb (which removes the "Trial version" text), buy Magic Thumb. Then overwrite the demo magicthumb.js file with the one from your licensed version.
Miva 5.5 installation
- Download Magic Thumb (free and fully functional demo version).
- Unzip the file and upload the magicthumb folder to this location on your Miva website:
httpdocs/magicthumb
- In your Miva admin panel, go to the Pages menu.
- Find the page Product Display with ID=PROD and click the Edit button on the right.
- At the top, click the link "Product Display Layout".
- Find the line:
<img src="&mvt:product:image;" alt="&mvt:product:name;" title="&mvt:product:name;" vspace="10" width="300">
and replace it with:<mvt:if expr="NOT ISNULL l.settings:product:customfield_values:customfields:ZoomImage"> <a id="mtbMainImage" href="&mvt:product:customfield_values:customfields:ZoomImage;" class="MagicThumb"> </mvt:if> <img src="&mvt:product:image;" alt="&mvt:product:name;" title="&mvt:product:name;" vspace="10" width="300"> <mvt:if expr="NOT ISNULL l.settings:product:customfield_values:customfields:ZoomImage"> </a> </mvt:if>
- The next 4 steps will add 2 alternative product images with thumbnails (so your page will show 3 product images in total). There is no standard method for adding multiple product images on a Miva page, so you may need to adjust these instructions for your site. Find this line:
<a href="javascript:IM_ZoomPopup('AltView1');"><img src="&mvt:product:customfield_values:customfields:AltView1Thm;" class="Mini" width="75"></a>and replace it with:<a href="&mvt:product:customfield_values:customfields:AltView1;" rev="&mvt:product:customfield_values:customfields:AltView1;" rel="thumb-id: mtbMainImage"><img src="&mvt:product:customfield_values:customfields:AltView1Thm;" class="Mini" width="75"></a>
- Find this line:
<a href="javascript:IM_ZoomPopup('AltView1');"><img src="&mvt:product:customfield_values:customfields:AltView1;" class="Mini" width="75"></a>and replace it with:<a href="&mvt:product:customfield_values:customfields:AltView1;" rev="&mvt:product:customfield_values:customfields:AltView1;" rel="thumb-id: mtbMainImage"><img src="&mvt:product:customfield_values:customfields:AltView1;" class="Mini" width="75"></a>
- Find this line:
<a href="javascript:IM_ZoomPopup('AltView2');"><img src="&mvt:product:customfield_values:customfields:AltView2Thm;" class="Mini" width="75"></a>and replace it with:<a href="&mvt:product:customfield_values:customfields:AltView2;" rev="&mvt:product:customfield_values:customfields:AltView2;" rel="thumb-id:mtbMainImage"><img src="&mvt:product:customfield_values:customfields:AltView2Thm;" class="Mini" width="75"></a>
- Find this line:
<a href="javascript:IM_ZoomPopup('AltView2');"><img src="&mvt:product:customfield_values:customfields:AltView2;" class="Mini" width="75"></a>and replace it with:<a href="&mvt:product:customfield_values:customfields:AltView2;" rev="&mvt:product:customfield_values:customfields:AltView2;" rel="thumb-id: mtbMainImage"><img src="&mvt:product:customfield_values:customfields:AltView2;" class="Mini" width="75"></a>
- Find this line:
<a href="javascript:IM_ZoomPopup('Zoom');"><img src="&mvt:product:customfield_values:customfields:ZoomThm;" class="MagicThumb" width="75"></a>and replace it with:<a href="&mvt:product:customfield_values:customfields:ZoomImage;" rev="&mvt:product:customfield_values:customfields:ZoomImage;" rel="thumb-id: mtbMainImage"><img src="&mvt:product:customfield_values:customfields:ZoomThm;" class="Mini" width="75"></a>
- Find this line:
<a href="javascript:IM_ZoomPopup('Zoom');"><img src="&mvt:product:customfield_values:customfields:ZoomImage;" class="MagicThumb" width="75"></a>and replace it with:<a href="&mvt:product:customfield_values:customfields:ZoomImage;" rev="&mvt:product:customfield_values:customfields:ZoomImage;" rel="thumb-id: mtbMainImage"><img src="&mvt:product:customfield_values:customfields:ZoomImage;" class="Mini" width="75"></a>
- Click the Update button at the bottom of the page when finished.
- At the top, click the link "HEAD Tag Content/CSS".
- Insert the following lines at the top of template:
<link rel="stylesheet" href="/magicthumb/magicthumb.css"> <script src="/magicthumb/magicthumb.js"></script>
- Click the Update button at the bottom of the page.
- Enjoy!
- Buy Magic Thumb To upgrade your free and fully functional trial version of Magic Thumb (which removes the "Trial version" text), buy Magic Thumb. Then overwrite the demo magicthumb.js file with the one from your licensed version.
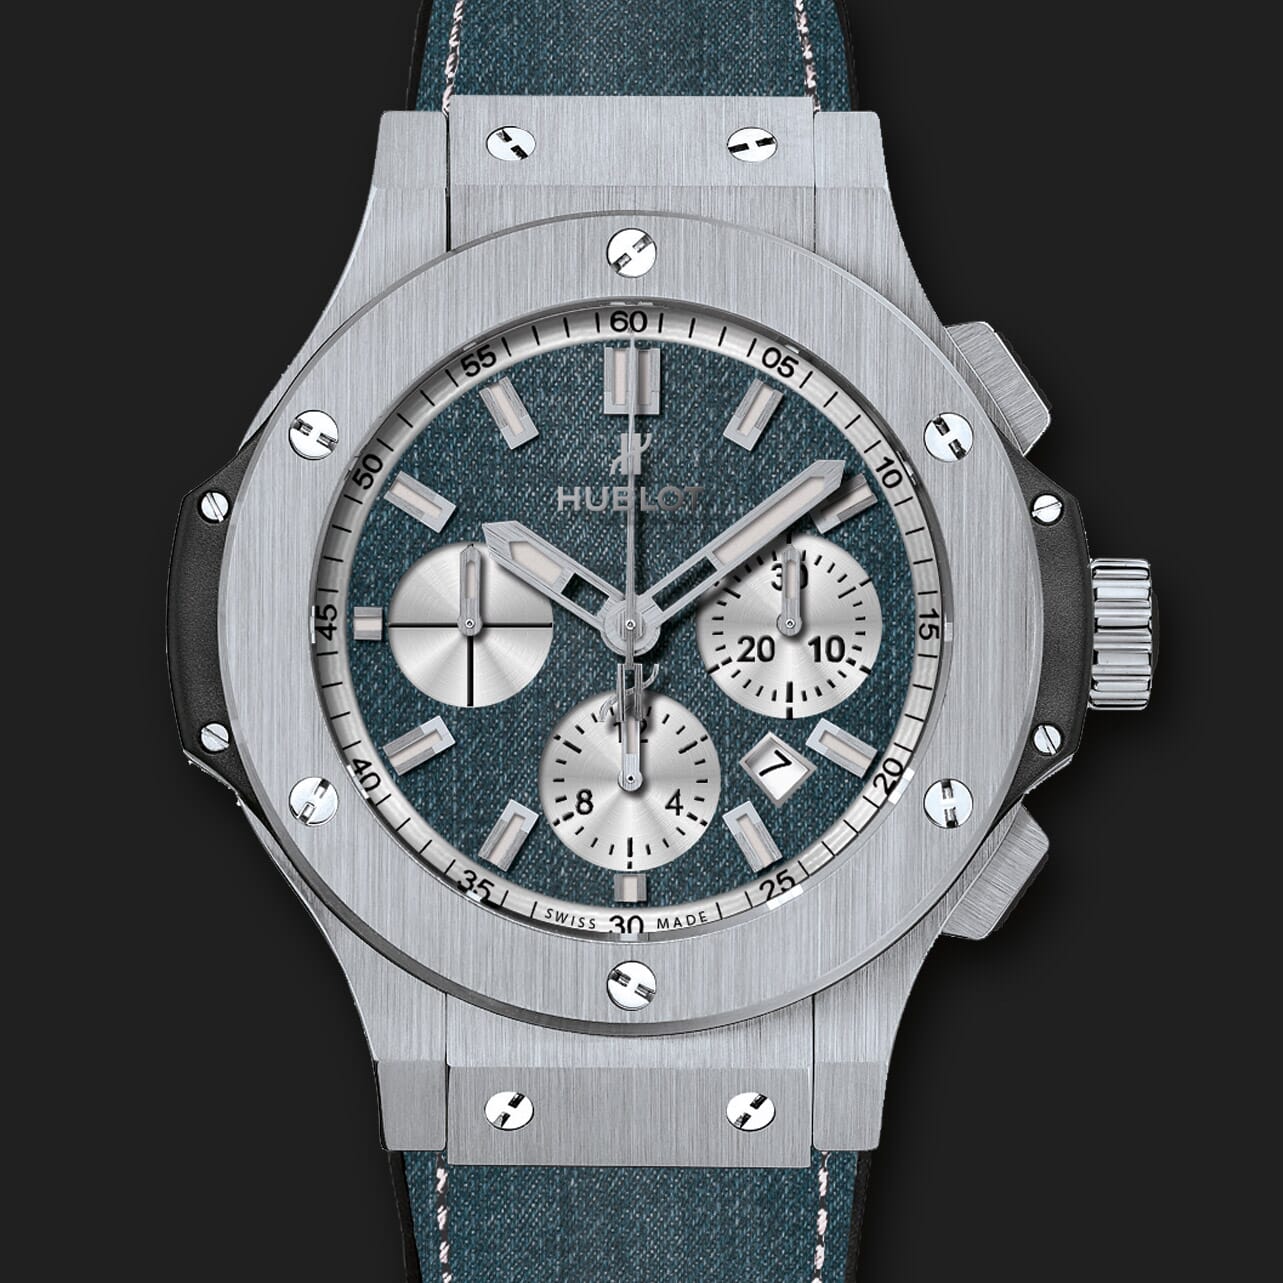
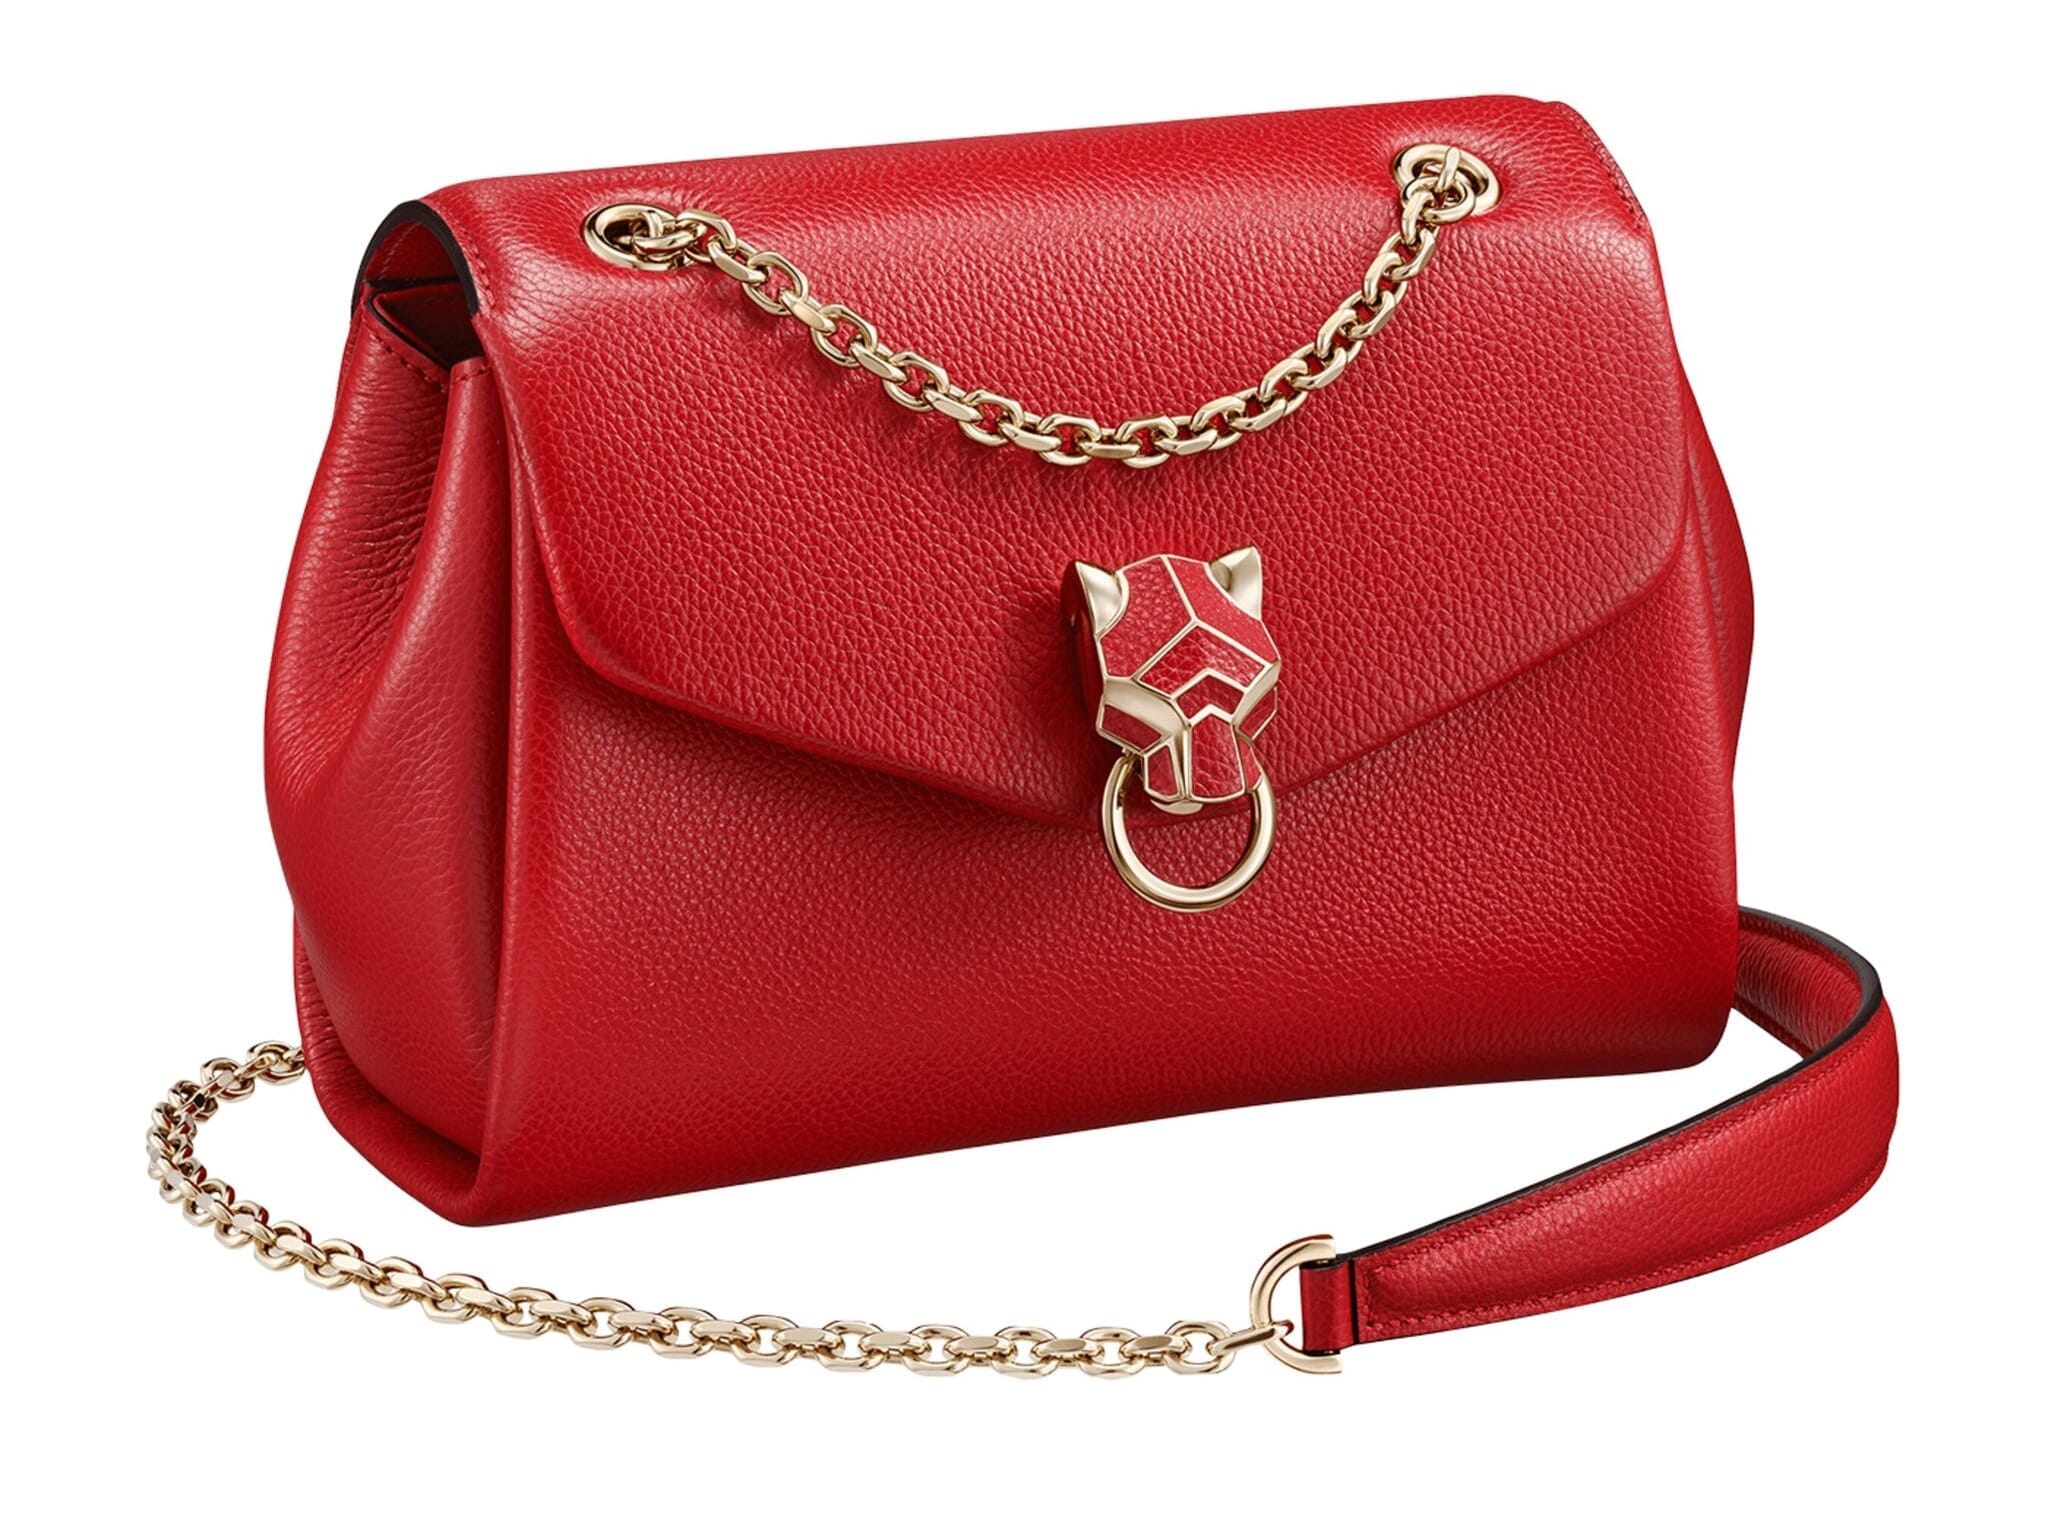
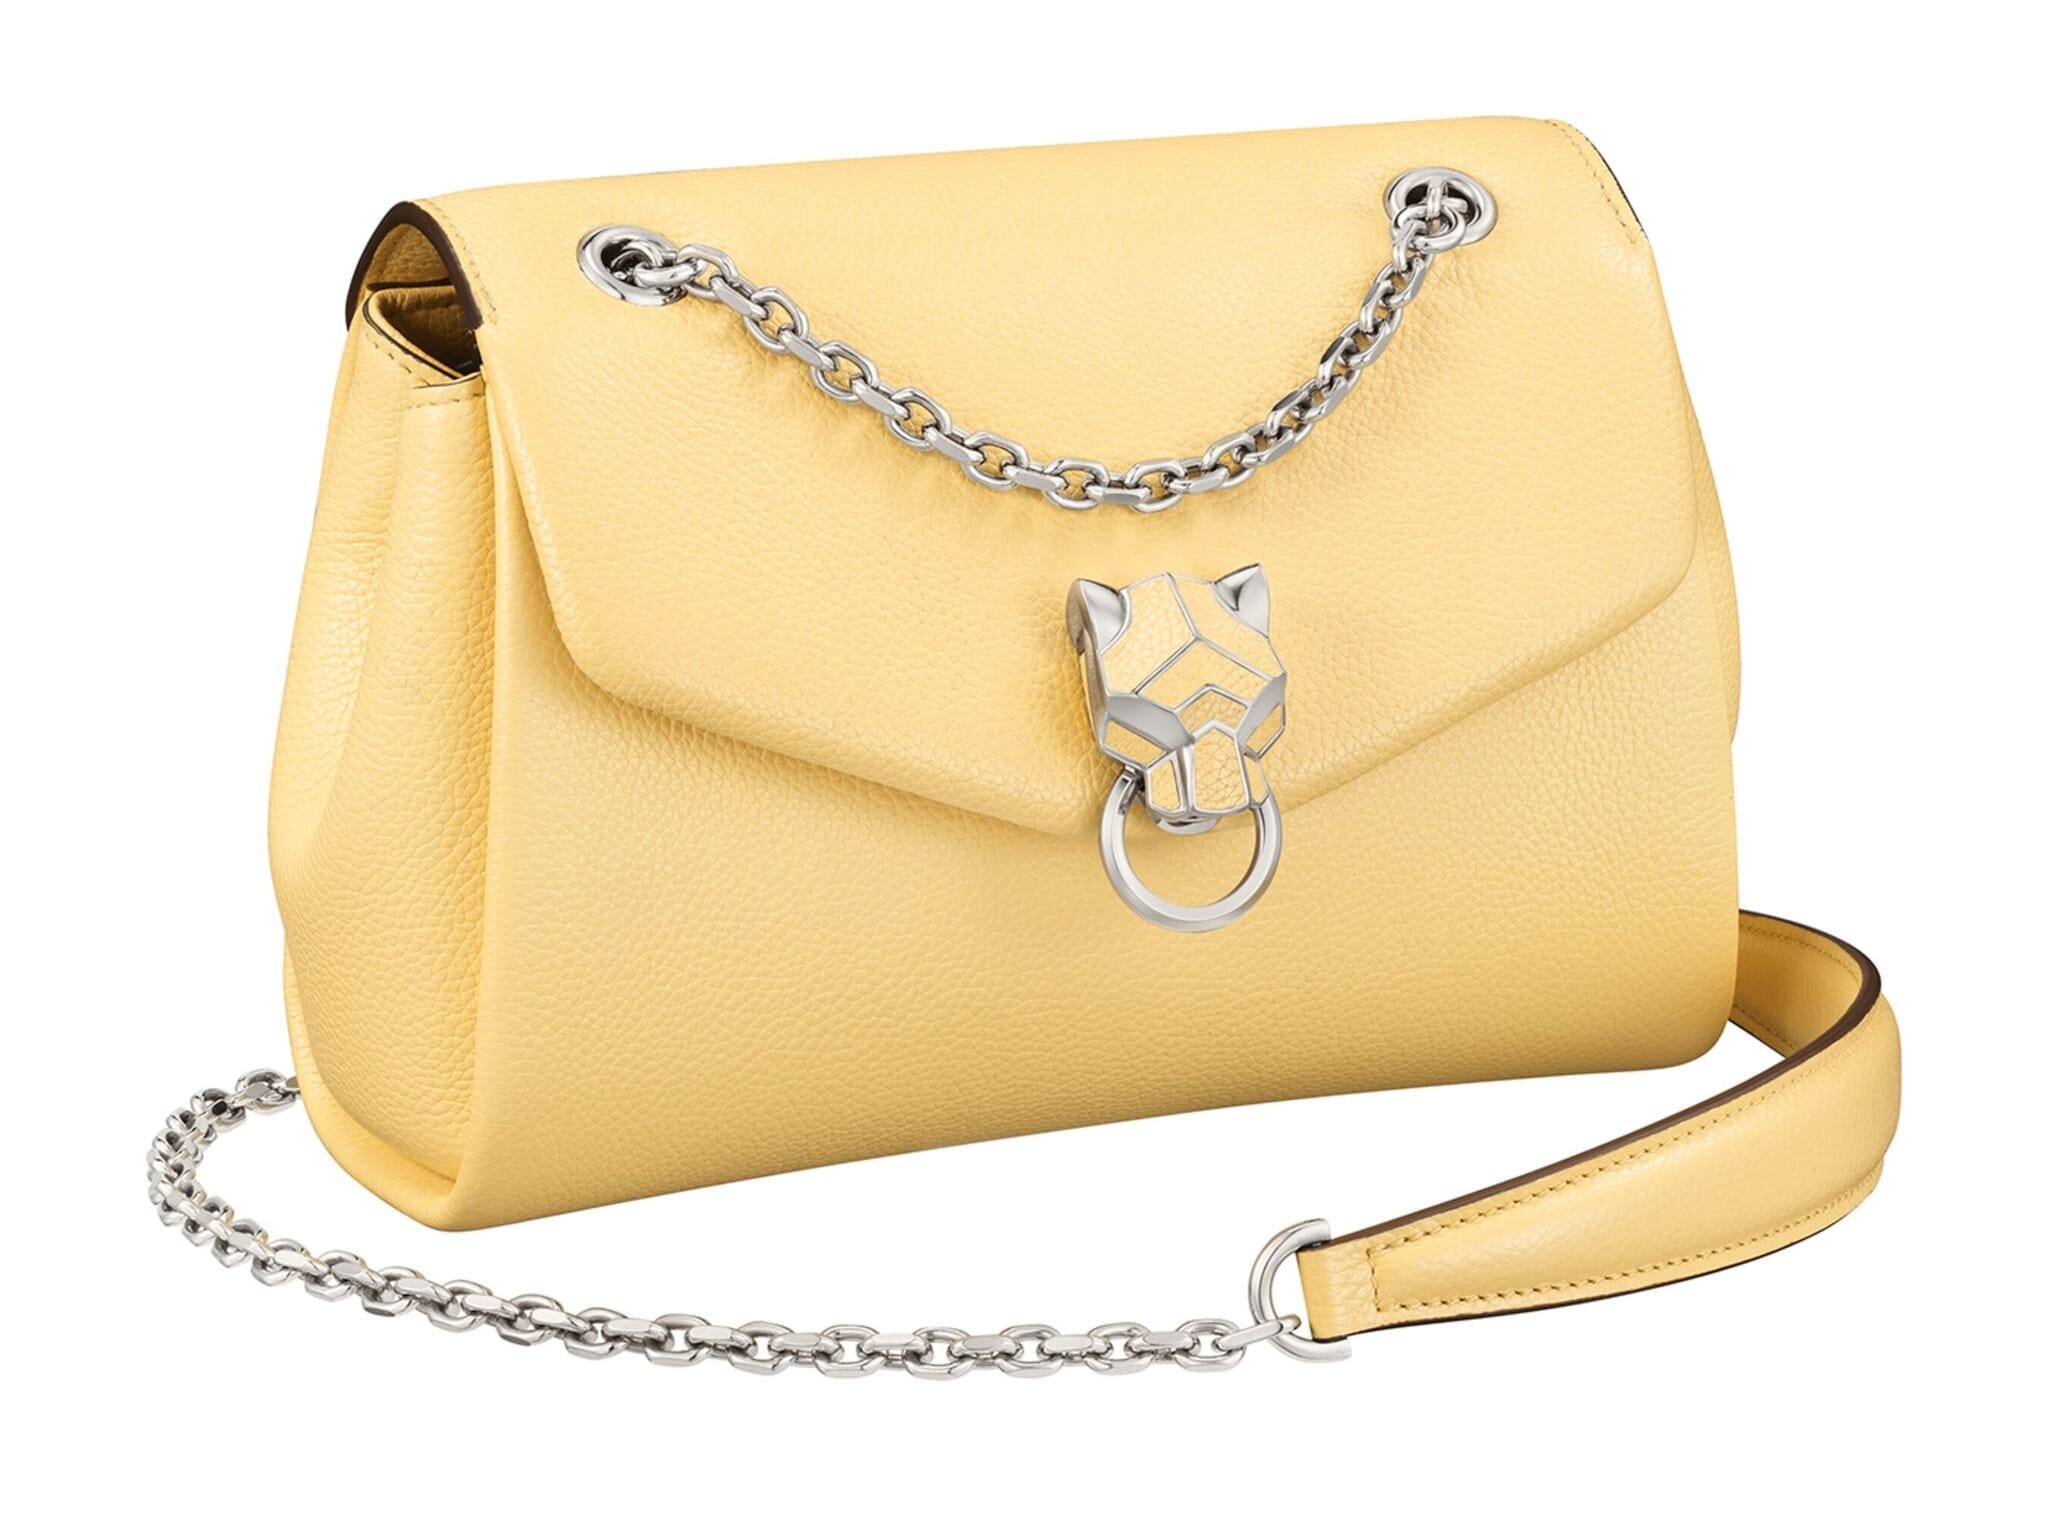
Product attributes
Do your products come in different colours or styles?Each product within a Miva ecommerce store offers the option to add attributes.
A perfect way to display all colours, sizes, prices, styles of your items.
Magic Thumb supports Miva Merchant product attributes out of the box.
Thanks for trying Magic Thumb on your Miva Merchant site! What did you hope Magic Thumb could do? How can we improve it? Let us know, we're always improving our tools based on customer feedback.
Miva 5.5 PR8 with Image Machine uninstallation
- In your Miva admin panel, go to the User Interface > Pages menu.
- Find the page Product Display with ID=PROD and click the Edit button on the right.
- At the top, click the link "HEAD Tag Content/CSS".
- Delete the following lines from the top of template:
<link rel="stylesheet" href="/magicthumb/magicthumb.css"> <script src="/magicthumb/magicthumb.js"></script> <script src="/magicthumb/magic-miva-imagemachine.js?tool=MagicThumb"></script>
- Click the Update button at the bottom of the page.
- Delete the magicthumb folder from this location on your Miva website:
httpdocs/magicthumb
- Magic Thumb is now uninstalled.
Miva 5.5 uninstallation
- In your Miva admin panel, go to the Pages menu.
- Find the page Product Display with ID=PROD and click the Edit button on the right.
- At the top, click the link "HEAD Tag Content/CSS".
- Delete the following lines from the top of template:
<link rel="stylesheet" href="/magicthumb/magicthumb.css"> <script src="/magicthumb/magicthumb.js"></script>
- At the top, click the link "Product Display Layout".
- Find the code:
<mvt:if expr="NOT ISNULL l.settings:product:customfield_values:customfields:ZoomImage">
<a id="mtbMainImage" href="&mvt:product:customfield_values:customfields:ZoomImage;" class="MagicThumb">
</mvt:if>
<img src="&mvt:product:image;" alt="&mvt:product:name;" title="&mvt:product:name;" vspace="10" width="300">
<mvt:if expr="NOT ISNULL l.settings:product:customfield_values:customfields:ZoomImage">
</a>
</mvt:if>
and replace it with:<img src="&mvt:product:image;" alt="&mvt:product:name;" title="&mvt:product:name;" vspace="10" width="300">
- If you added 2 alternative product images with thumbnails as part of the installation, then reverse Steps 7, 8, 9, 10, 11 & 12 from the Installation instructions > Click the Update button at the bottom of the page.
- Delete the magicthumb folder from this location on your Miva website:
httpdocs/magicthumb
- Magic Thumb is now uninstalled.
Magic Thumb for Miva Merchant
About
These instructions are for Miva Merchant. Use them to add effects to your website including image zoom on hover/mouseover; image lightbox (enlarge image to full screen); and image magnifiers.