extensions
Gorgeous osCommerce image tools
osCommerce is a well established free and open source CMS (Content Management System) for online stores. One of its main advantages is the wide variety of modules, to easily add new features to your store.
We provide 5 of the best osCommerce addons for images. Considered by many as essential modules, they will help you create beautiful effects including image zoom, image slideshow and image carousels.
     | |
Magic Zoom Plus for osCommerce
Style it to your website with 90 tweaks
- Mobile - works beautifully on iPad, iPhone, Android.
- Superior user experience, to propel your store ahead of your competitors.
- osCommerce Online Merchant 3.0.x
- osCommerce Online Merchant 2.0 - 2.3.x
98% of shoppers say its their favourite zoom
Product details page
Category page
New products page
Specials page
Reviews page
New products block
New products block (sidebar)
Specials block
Reviews block
Manual install elsewhere
Responsive
Fast loading
SEO friendly
Supports video
Easy to customise
Switchable thumbnails
Friendly support
One-off payment
jQuery compatible
Regularly updated
Lazy loading
Optimised for mobile
osCommerce 2.x installation
- Download the osCommerce 2 module for Magic Zoom Plus (free and fully functional demo version).
- Unzip the file on your computer and FTP the magiczoomplus folder to your osCommerce directory (on your server), keeping the file and folder structure intact.
-
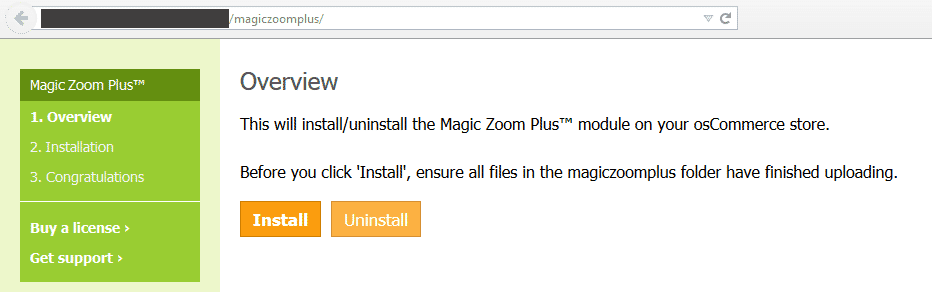
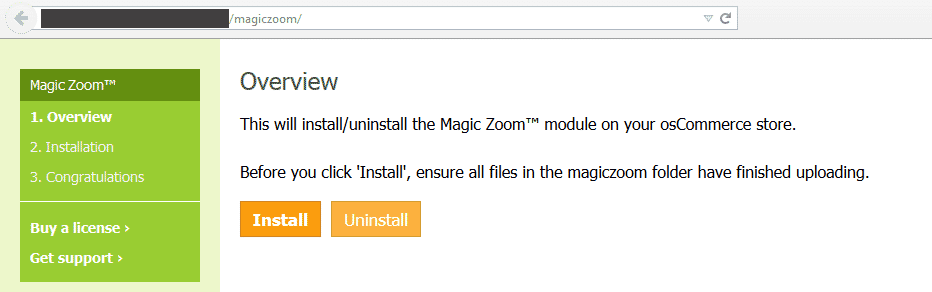
 Go to http://www.yoursite.url/magiczoomplus/ in your browser > click 'Install' (replace yoursite.url with your domain name).
 - The demo version is now installed!
-
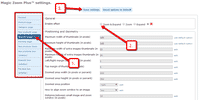
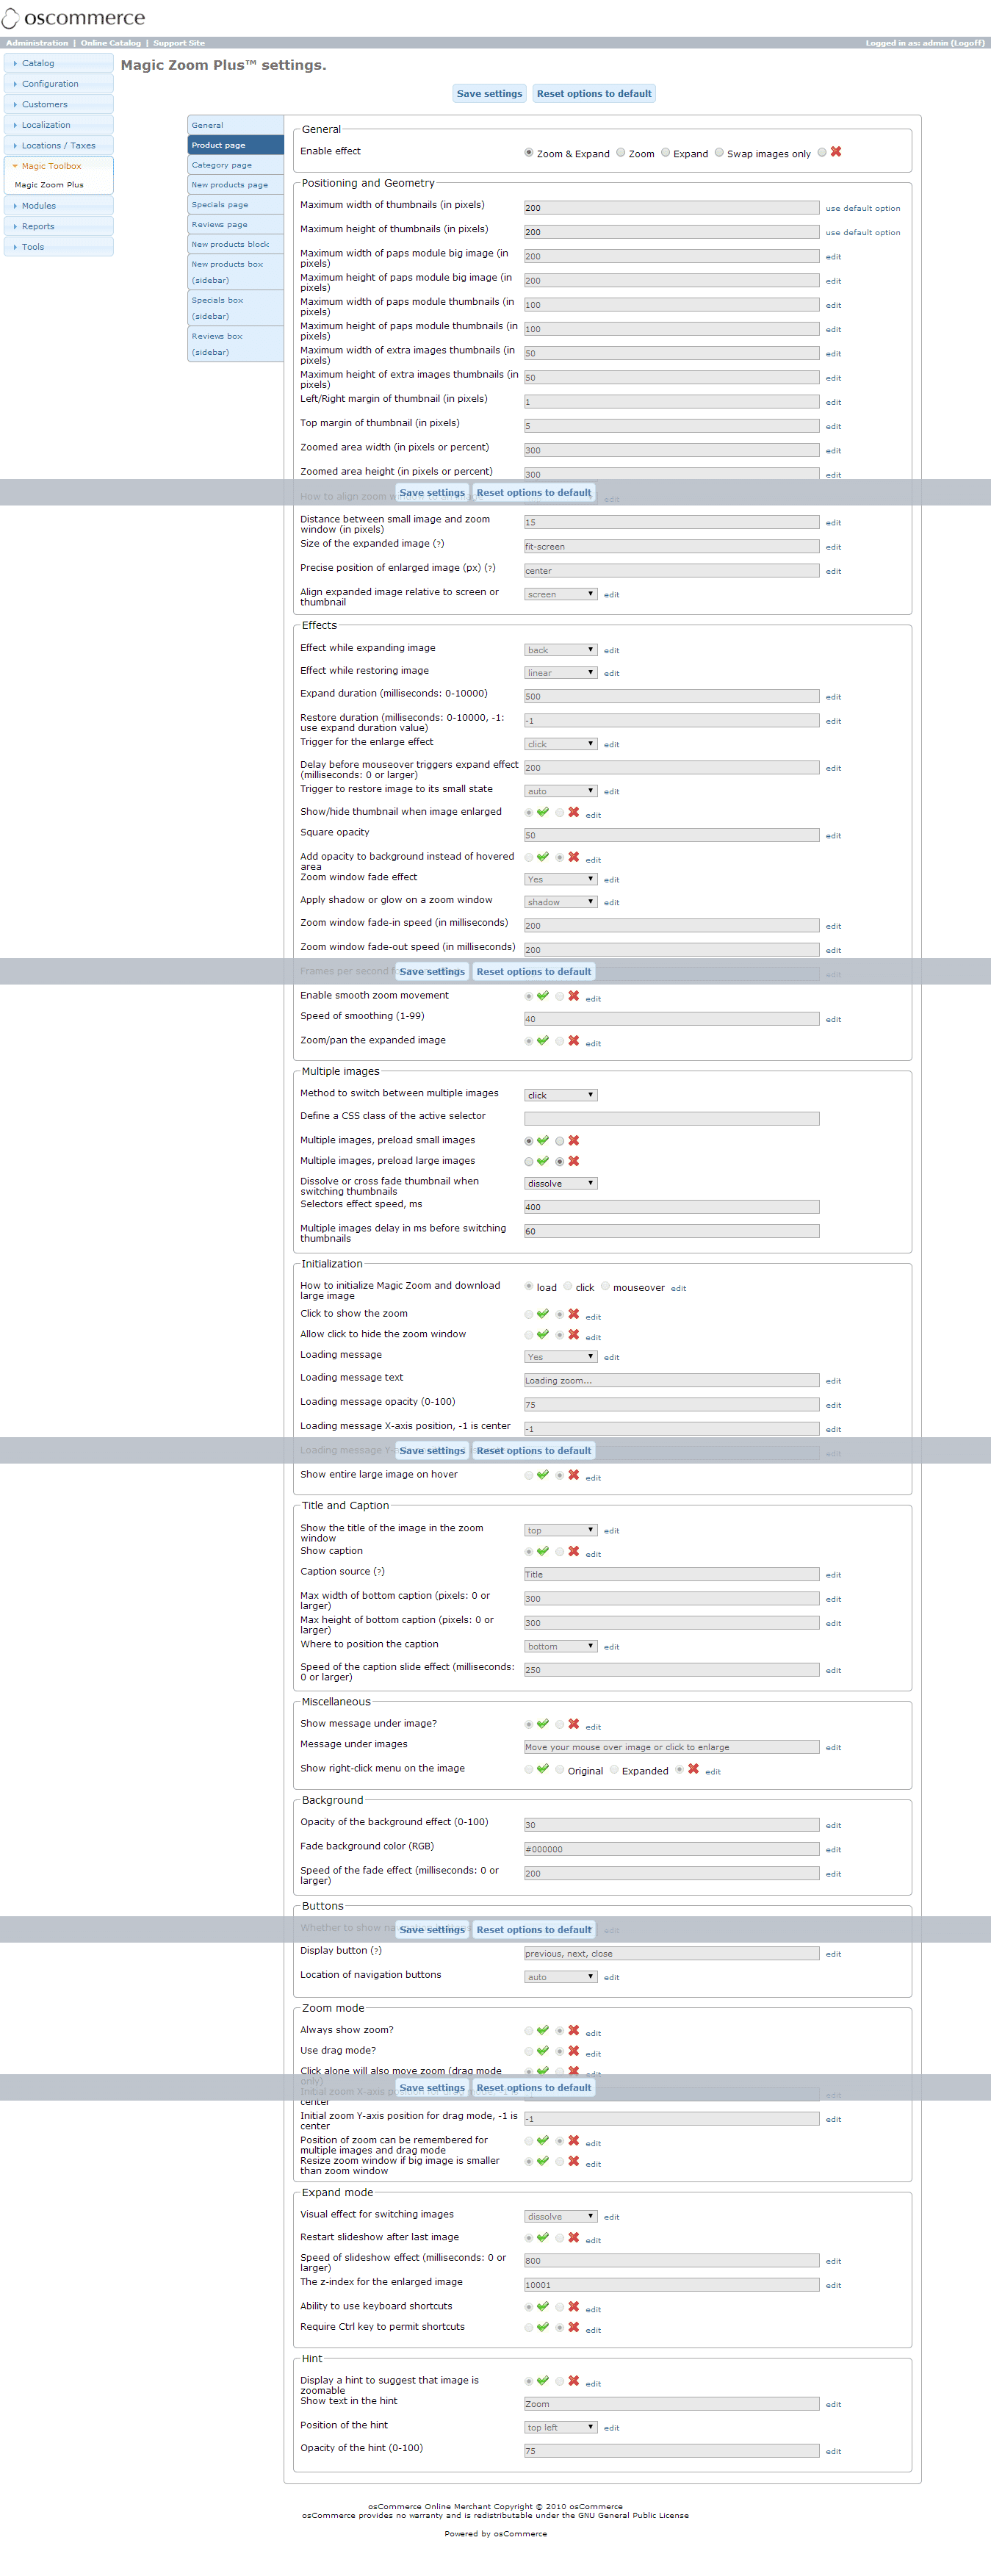
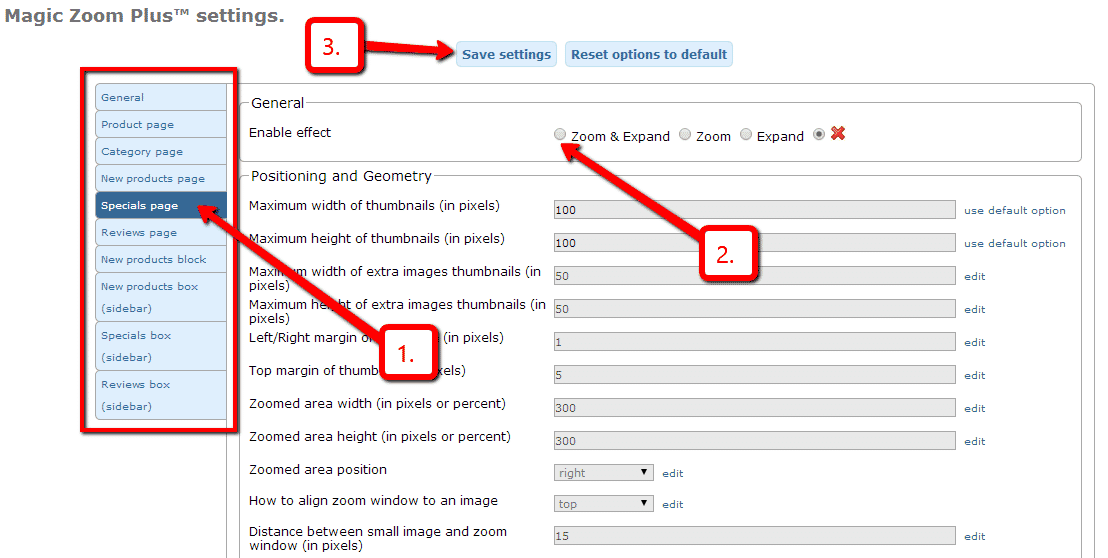
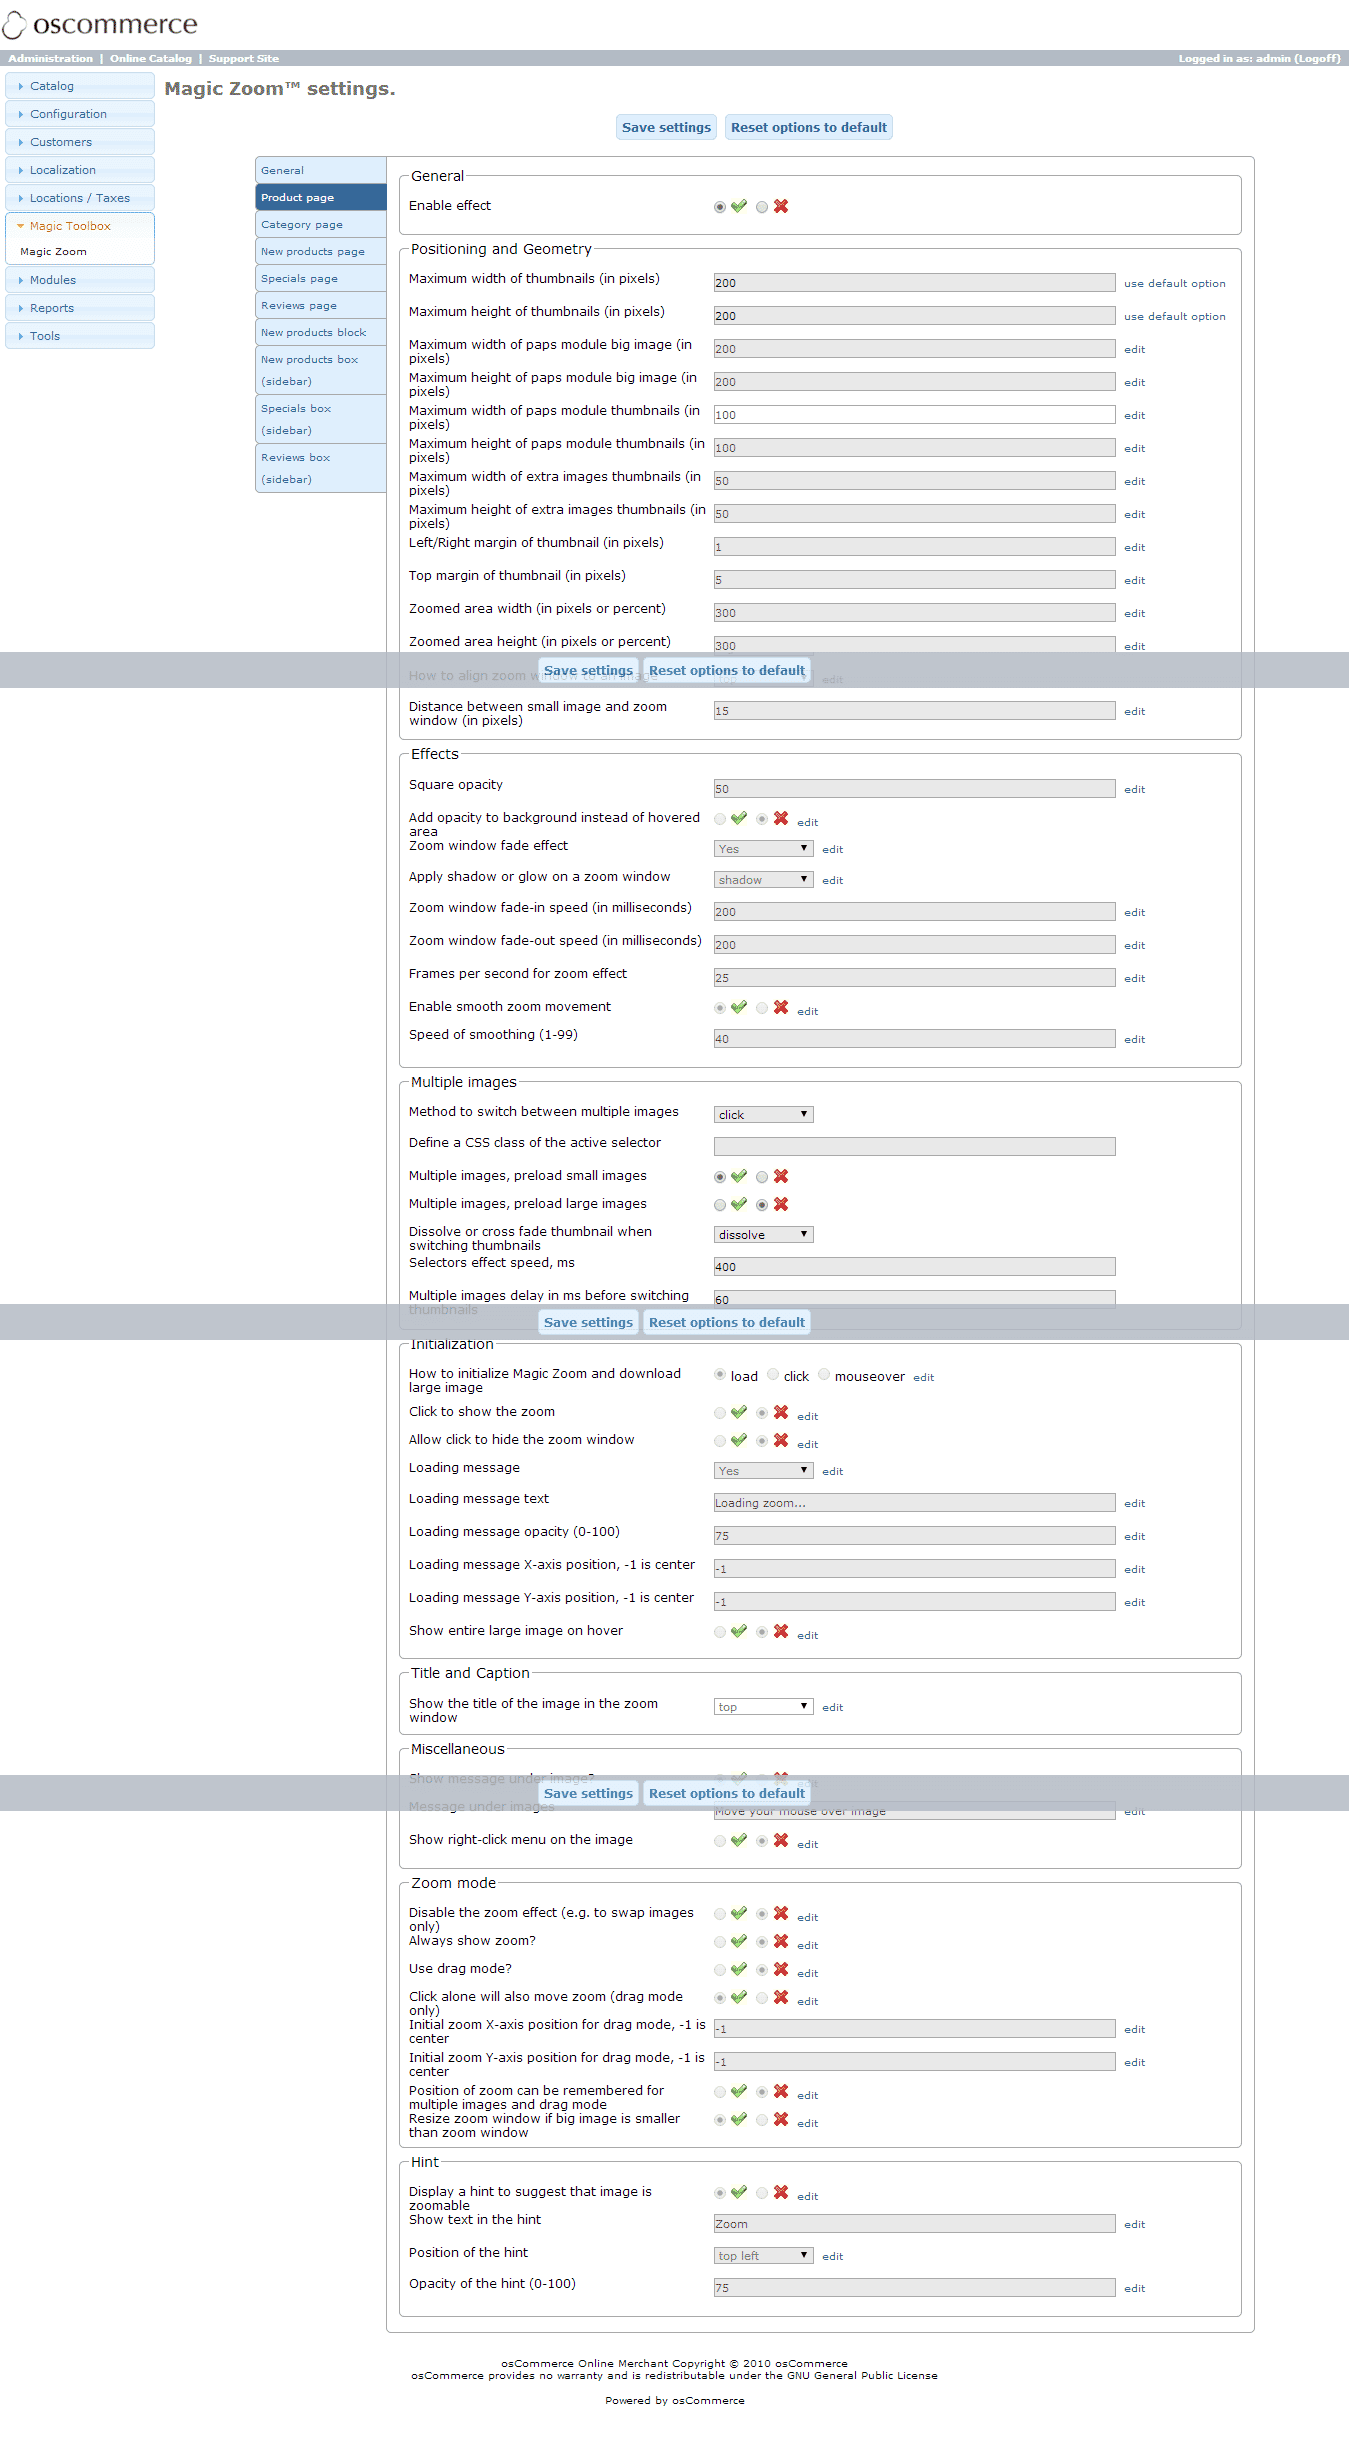
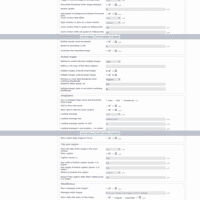 Go to Admin panel > Magic Toolbox > Magic Zoom Plus and customize Magic Zoom Plus how you want it.
 -
 Magic Zoom Plus can be enabled on any page or section you choose.
 - Buy Magic Zoom Plus To upgrade your free and fully functional trial version of Magic Zoom Plus (which removes the "Trial version" text), buy Magic Zoom Plus and overwrite following file with the same one from your licensed version:
includes/modules/magiczoomplus/core/magiczoomplus.js
osCommerce 3.x installation
osCommerce Online Merchant v3.0 is currently in development and does not yet contain the same user-end features that v2.3 has. This release is recommended for developers and users who are participating in its development and are providing feedback. Other users should wait until v3.1.0 for a feature complete and production ready release.
- Download osCommerce 3 module for Magic Zoom Plus (free and fully functional demo version).
- Upload the contents of the catalog directory to your osCommerce directory to their respective folders.
- Upload the contents of the admin directory to your osCommerce admin directory to their respective folders.
- The demo is now installed!
- Go to Admin panel > Magic Toolbox > Magic Zoom Plus and configure Magic Zoom Plus how you want it.
- Buy Magic Zoom Plus To upgrade your free and fully functional trial version of Magic Zoom Plus (which removes the "Trial version" text), buy Magic Zoom Plus and overwrite following file with the same one from your licensed version:
includes/modules/magiczoomplus/core/magiczoomplus.js
Multiple images addons
Swap between multiple images by using one of the many osCommerce add-ons.
Our tools support these add-ons:
- Extra Images
- Color Swatches
- Additional Images Module
- Sm,Med,and Lg Images
- Automatic Thumbnail
- More Pics 6
- Ultra pics
- Dynamic MoPics
- Paps images
- STS (templates)
- SEF
Uninstallation (osCommerce 2.x)
Thanks for trying Magic Zoom Plus on your osCommerce site! What did you hope Magic Zoom Plus could do? How can we improve it? Let us know, we're always improving our tools based on customer feedback.
- Go to http://your.site.url/magiczoomplus/ in your browser and click 'Uninstall' (replace yoursite.url with your domain name).
- Delete the magiczoomplus folder from your osCommerce directory (on your server).
- Magic Zoom Plus is now uninstalled.

Magic Zoom Plus for osCommerce
    | |
Magic Zoom for osCommerce
Optimised to work with 10+ related osCommerce modules
- Superb experience when browsing images on mobiles and desktops alike.
- Gain your customers trust - show them detailed product images.
- osCommerce Online Merchant 3.0.x
- osCommerce Online Merchant 2.0 - 2.3.x
93% of users say it boosted their sales
Product details page
Category page
New products page
Specials page
Reviews page
New products block
New products block (sidebar)
Specials block
Reviews block
Manual install elsewhere
Responsive
Fast loading
SEO friendly
Supports video
Easy to customise
Switchable thumbnails
Friendly support
One-off payment
Regularly updated
jQuery compatible
On-demand loading
Optimised for mobile
osCommerce 2.x installation
- Download the osCommerce 2 module for Magic Zoom (free and fully functional demo version).
- Unzip the file on your computer and FTP the magiczoom folder to your osCommerce directory (on your server), keeping the file and folder structure intact.
-
 Go to http://www.yoursite.url/magiczoom/ in your browser > click 'Install' (replace yoursite.url with your domain name).
 - The demo version is now installed!
-
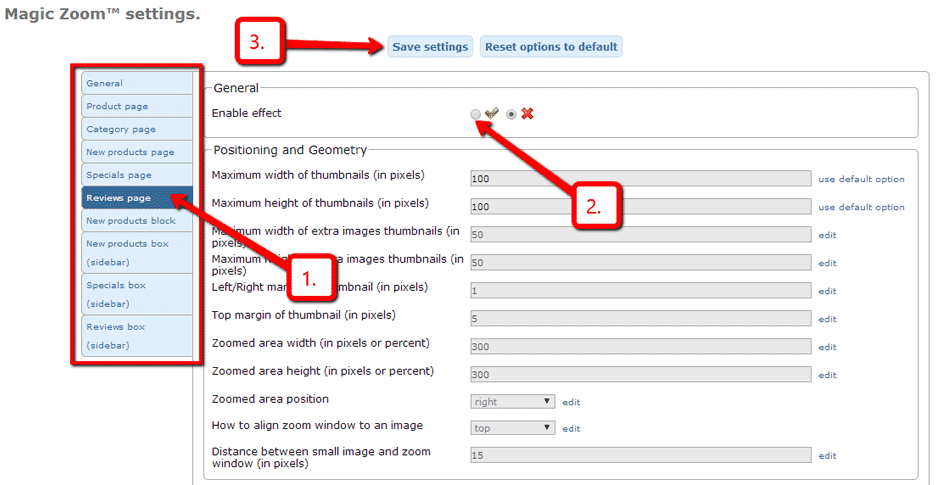
 Go to Admin panel > Magic Toolbox > Magic Zoom and customize Magic Zoom how you want it.
 -
 Magic Zoom can be enabled on any page or section you choose.
 - Buy Magic Zoom To upgrade your free and fully functional trial version of Magic Zoom (which removes the "Trial version" text), buy Magic Zoom and overwrite following file with the same one from your licensed version:
includes/modules/magiczoom/core/magiczoom.js
osCommerce 3.x installation
osCommerce Online Merchant v3.0 is currently in development and does not yet contain the same user-end features that v2.3 has. This release is recommended for developers and users who are participating in its development and are providing feedback. Other users should wait until v3.1.0 for a feature complete and production ready release.
- Download osCommerce 3 module for Magic Zoom (free and fully functional demo version).
- Upload the contents of the catalog directory to your osCommerce directory to their respective folders.
- Upload the contents of the admin directory to your osCommerce admin directory to their respective folders.
- The demo is now installed!
- Go to Admin panel > Magic Toolbox > Magic Zoom and configure Magic Zoom how you want it.
- Buy Magic Zoom To upgrade your free and fully functional trial version of Magic Zoom (which removes the "Trial version" text), buy Magic Zoom and overwrite following file with the same one from your licensed version:
includes/modules/magiczoom/core/magiczoom.js
Multiple images addons
Swap between multiple images by using one of the many osCommerce add-ons.
Our tools support these add-ons:
- Extra Images
- Color Swatches
- Additional Images Module
- Sm,Med,and Lg Images
- Automatic Thumbnail
- More Pics 6
- Ultra pics
- Dynamic MoPics
- Paps images
- STS (templates)
- SEF
Uninstallation (osCommerce 2.x)
Thanks for trying Magic Zoom on your osCommerce site! What did you hope Magic Zoom could do? How can we improve it? Let us know, we're always improving our tools based on customer feedback.
- Go to http://your.site.url/magiczoom/ in your browser and click 'Uninstall' (replace yoursite.url with your domain name).
- Delete the magiczoom folder from your osCommerce directory (on your server).
- Magic Zoom is now uninstalled.
Magic Zoom for osCommerce
 Zara 2014
 Zara 2014
 Zara 2014
 Zara 2014
 Zara 2014
 Zara 2014
 Zara 2014
 Zara 2014
 Zara 2015
 Zara 2015
 Zara 2015
 Zara 2015
 Zara 2015
 Zara 2015
 Zara 2015
 Zara 2015
 Zara 2015
 Zara 2015
Magic Scroll for osCommerce
Magnificent osCommerce carousel
- Works on iPad, iPhone, Android and other mobile devices.
- Delight your customers with unlimited product images in a classy image carousel.
- osCommerce Online Merchant 3.0.x
- osCommerce Online Merchant 2.0 - 2.3.x
91% of shoppers prefer it to static images
Product details page
Home page
New products block
New products block (sidebar)
Specials block
Reviews block
Manual install elsewhere
Scrollable images, HTML or videos
Combine with other Magic viewers
Highly customisable
All kinds of uses
jQuery compatible
Regularly updated
One-time payment
Responsive
osCommerce 2.x installation
- Download the osCommerce 2 module for Magic Scroll (free and fully functional demo version).
- Unzip the file on your computer and FTP the magicscroll folder to your osCommerce directory (on your server), keeping the file and folder structure intact.
-
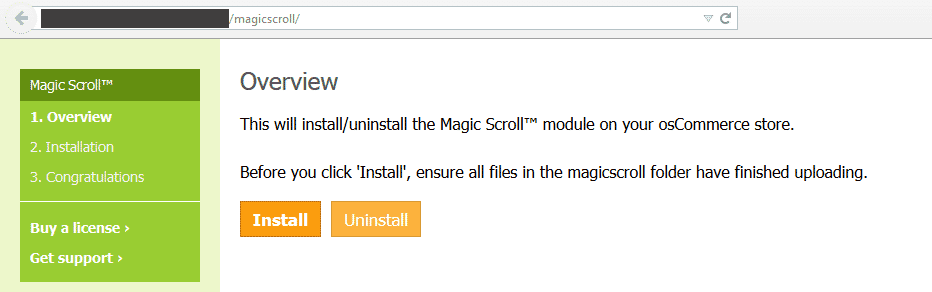
 Go to http://www.yoursite.url/magicscroll/ in your browser > click 'Install' (replace yoursite.url with your domain name).
 - The demo version is now installed!
-
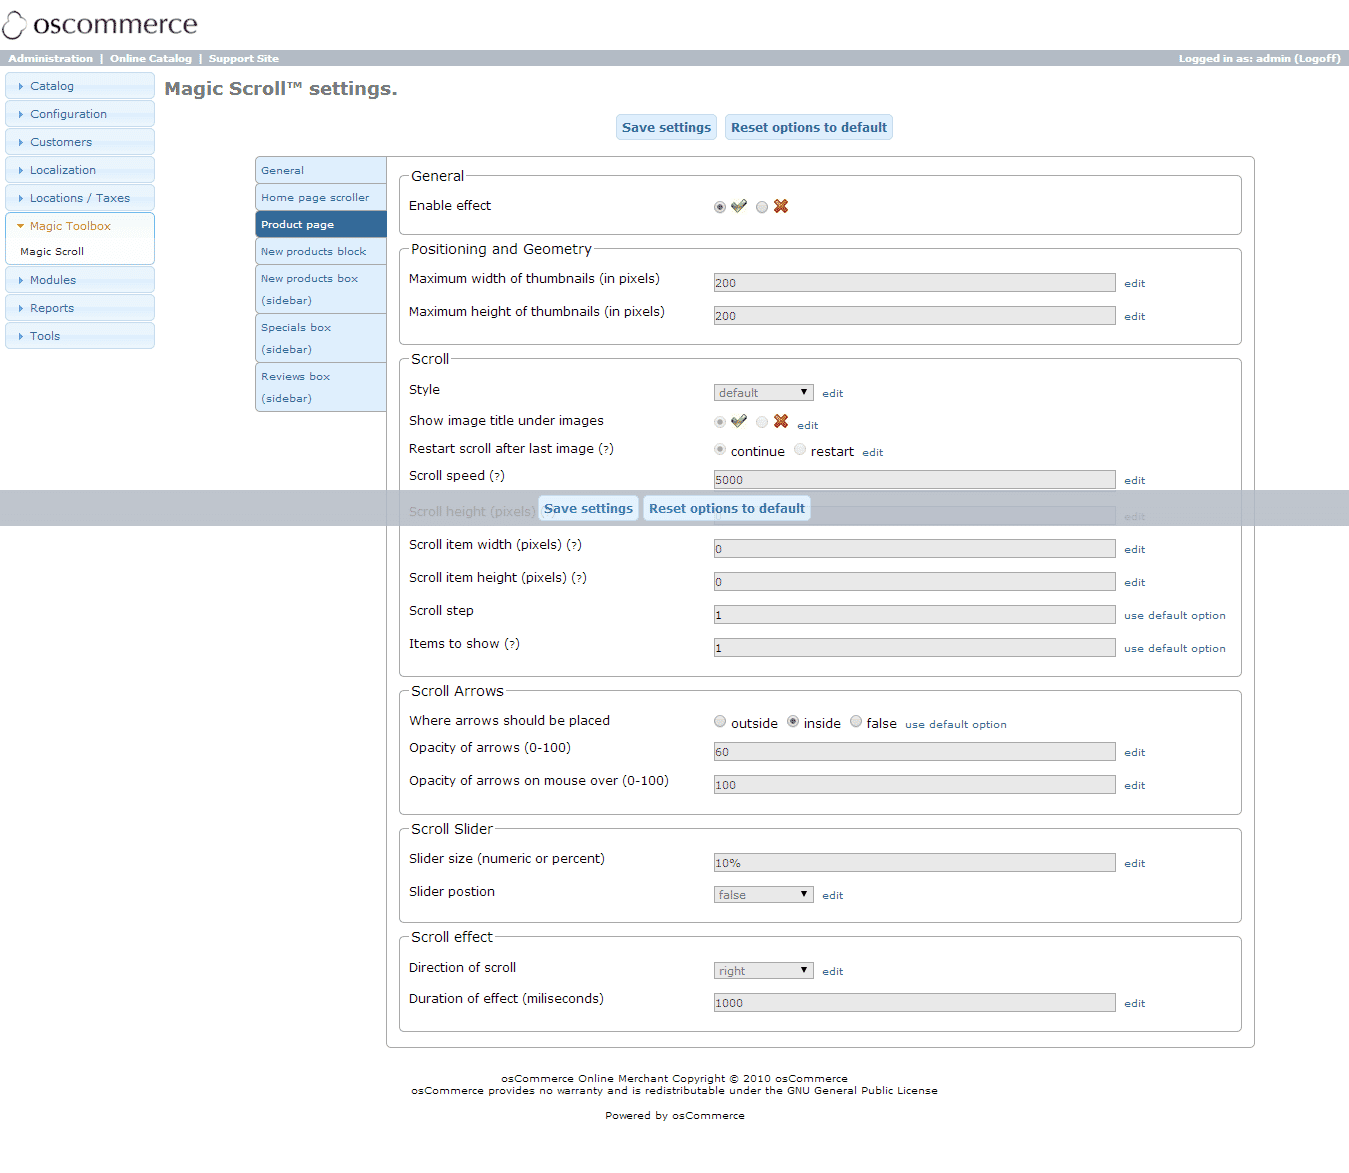
 Go to Admin panel > Magic Toolbox > Magic Scroll and customize Magic Scroll how you want it.
 -
 Magic Scroll can be enabled on any page or section you choose.
 - Buy Magic Scroll To upgrade your free and fully functional trial version of Magic Scroll (which removes the "Trial version" text), buy Magic Scroll and overwrite following file with the same one from your licensed version:
includes/modules/magicscroll/core/magicscroll.js

Setup a homepage scroller
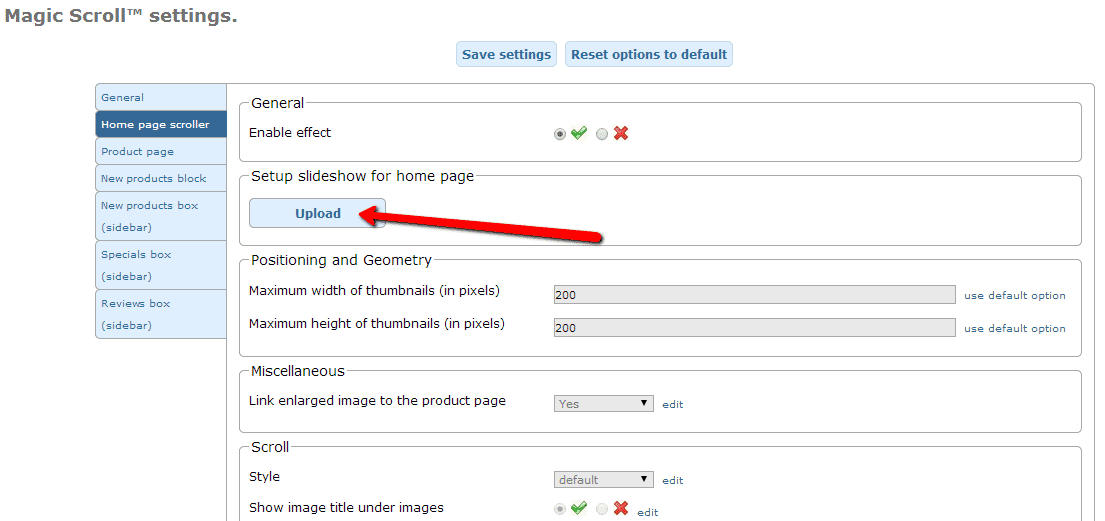
You can now add a carousel to your homepage in just a couple of clicks:
-
 Enable Home page scroller section.
 -
 Select Upload images and browse your computer for your set of scroller images.
 - Your scroller is now working!
- There are over 20 customizations available. Have fun, try them all!

Multiple images addons
Swap between multiple images by using one of the many osCommerce add-ons.
Our tools support these add-ons:
- Extra Images
- Color Swatches
- Additional Images Module
- Sm,Med,and Lg Images
- Automatic Thumbnail
- More Pics 6
- Ultra pics
- Dynamic MoPics
- Paps images
- STS (templates)
- SEF
Uninstallation (osCommerce 2.x)
Thanks for trying Magic Scroll on your osCommerce site! What did you hope Magic Scroll could do? How can we improve it? Let us know, we're always improving our tools based on customer feedback.
- Go to http://your.site.url/magicscroll/ in your browser and click 'Uninstall' (replace yoursite.url with your domain name).
- Delete the magicscroll folder from your osCommerce directory (on your server).
- Magic Scroll is now uninstalled.
FAQ
Can I change background colour of carousel?
Yes! By default, the Carousel & Cover-Flow modes use a grey/black background colour. You can change the Hex Colour to anything you want. With over 16,000 hex colours available, you'll be spoilt for choice. Simply add the CSS code you need to the Magic Scroll CSS file.
Carousel background
.MagicScroll[data-mode="carousel"] {
    background-color: <your-colour>;
}
Cover-flow background
.MagicScroll[data-mode="cover-flow"] {
    background-color: <your-colour>;
}
Magic Scroll for osCommerce


Magic Slideshow for osCommerce
Grab customers attention instantly on your homepage
- Pick a slide effect that suits you best
- Responsive images automatically resize to fit your customers screen.
- osCommerce Online Merchant 3.0.x
- osCommerce Online Merchant 2.0 - 2.3.x
88% say it brings the home page to life
Product details page
Home page
New products block
New products block (sidebar)
Specials block
Reviews block
Manual install elsewhere
9 popular effects
Image thumbnails
Easy to customise
Clickable bullets
Fast loading
Responsive
Pure JavaScript & CSS
jQuery compatible
Regularly updated
One-off payment
SEO friendly
osCommerce 2.x installation
- Download the osCommerce 2 module for Magic Slideshow (free and fully functional demo version).
- Unzip the file on your computer and FTP the magicslideshow folder to your osCommerce directory (on your server), keeping the file and folder structure intact.
-
 Go to http://www.yoursite.url/magicslideshow/ in your browser > click 'Install' (replace yoursite.url with your domain name).
 - The demo version is now installed!
-
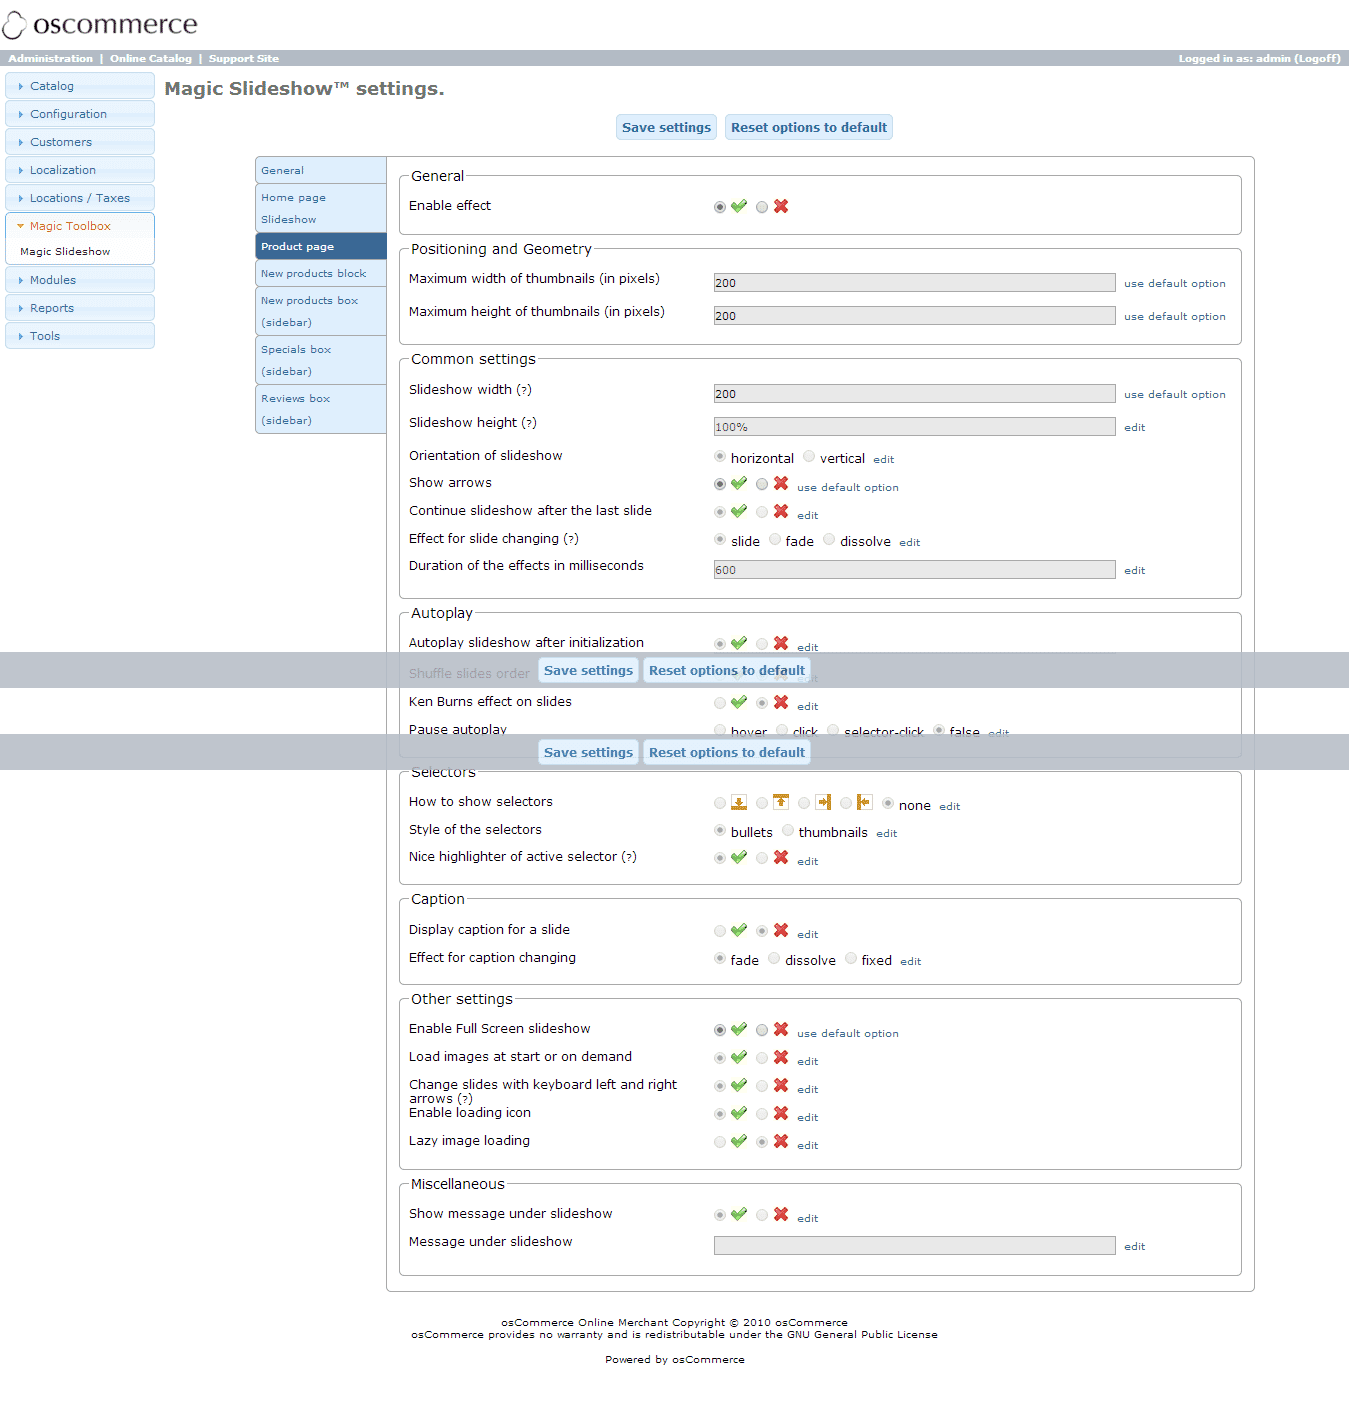
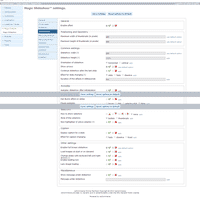 Go to Admin panel > Magic Toolbox > Magic Slideshow and customize Magic Slideshow how you want it.
 -
 Magic Slideshow can be enabled on any page or section you choose.
 - Buy Magic Slideshow To upgrade your free and fully functional trial version of Magic Slideshow (which removes the "Trial version" text), buy Magic Slideshow and overwrite following file with the same one from your licensed version:
includes/modules/magicslideshow/core/magicslideshow.js


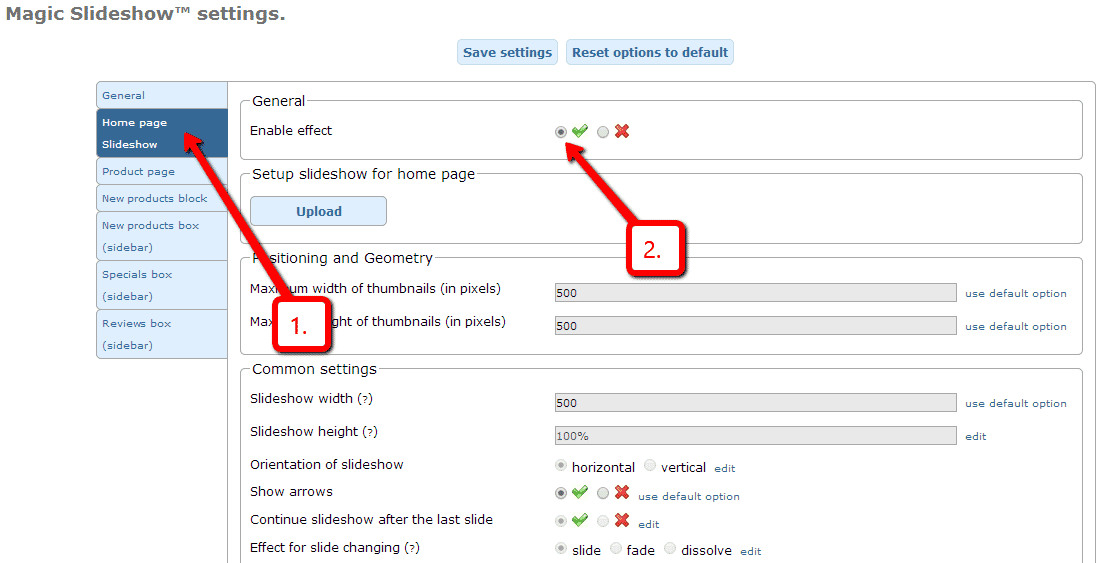
Setup a homepage slideshow
You can now add a slideshow to your homepage in just a couple of clicks:
-
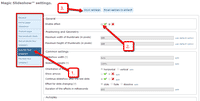
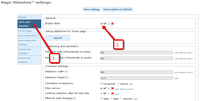 Enable Home page Slideshow section.
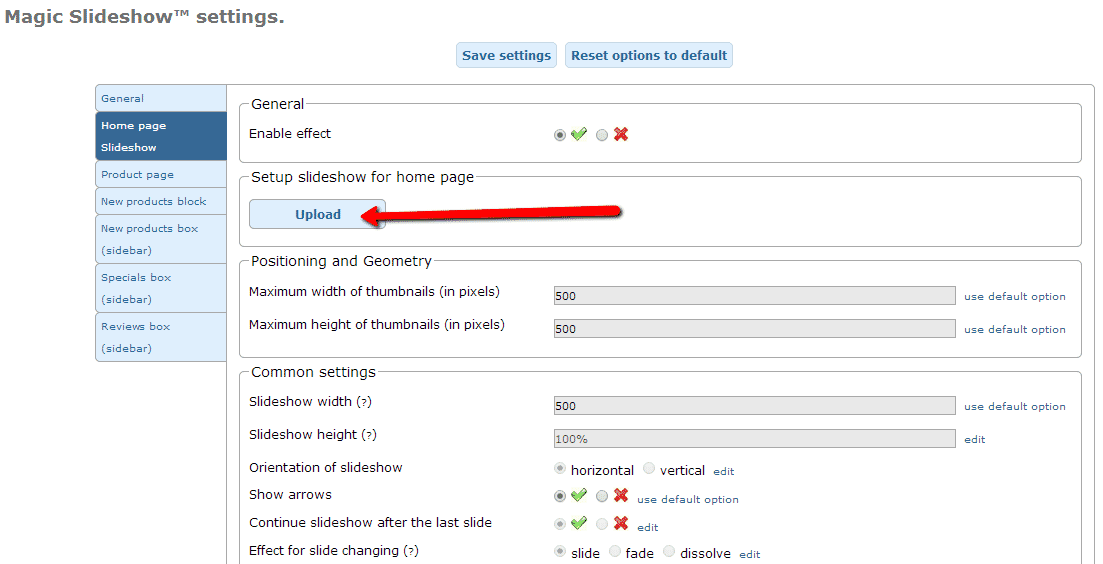
 -
 Select Upload images and browse your computer for your set of slideshow images.
 - Your slideshow is now working!
-
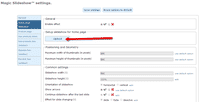
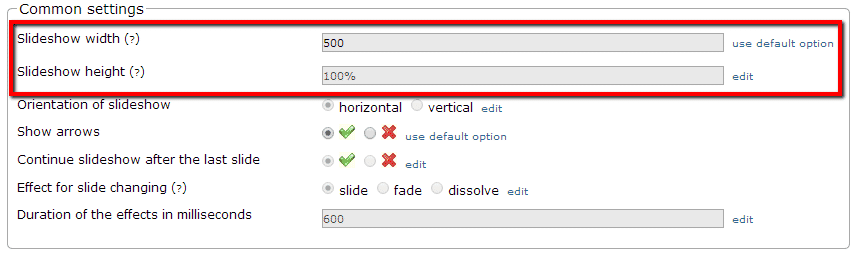
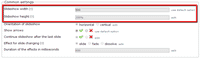 Slideshow will automatically resize to the size of container. To set a specific slideshow size, change Slideshow width (pixels) and Slideshow height (pixels) options.
 - There are over 30 customizations available. Have fun, try them all!
Multiple images addons
Swap between multiple images by using one of the many osCommerce add-ons.
Our tools support these add-ons:
- Extra Images
- Color Swatches
- Additional Images Module
- Sm,Med,and Lg Images
- Automatic Thumbnail
- More Pics 6
- Ultra pics
- Dynamic MoPics
- Paps images
- STS (templates)
- SEF
Uninstallation (osCommerce 2.x)
Thanks for trying Magic Slideshow on your osCommerce site! What did you hope Magic Slideshow could do? How can we improve it? Let us know, we're always improving our tools based on customer feedback.
- Go to http://your.site.url/magicslideshow/ in your browser and click 'Uninstall' (replace yoursite.url with your domain name).
- Delete the magicslideshow folder from your osCommerce directory (on your server).
- Magic Slideshow is now uninstalled.
Magic Slideshow for osCommerce
    | |
Magic Thumb for osCommerce
Works happily when used with other osCommerce modules.
- Choose from 40 customisations, easily chosen on the settings page.
- Feels wonderful on mobille devices too.
- osCommerce Online Merchant 3.0.x
- osCommerce Online Merchant 2.0 - 2.3.x
92% of users say its the best image lightbox
Product details page
Category page
New products page
Specials page
Reviews page
New products block
New products block (sidebar)
Specials block
Reviews block
Manual install elsewhere
Responsive
Fast loading
SEO friendly
Lazy loading
Supports video
Friendly support
One-off payment
Regularly updated
jQuery compatible
Swappable thumbnails
osCommerce 2.x installation
- Download the osCommerce 2 module for Magic Thumb (free and fully functional demo version).
- Unzip the file on your computer and FTP the magicthumb folder to your osCommerce directory (on your server), keeping the file and folder structure intact.
-
 Go to http://www.yoursite.url/magicthumb/ in your browser > click 'Install' (replace yoursite.url with your domain name).
 - The demo version is now installed!
-
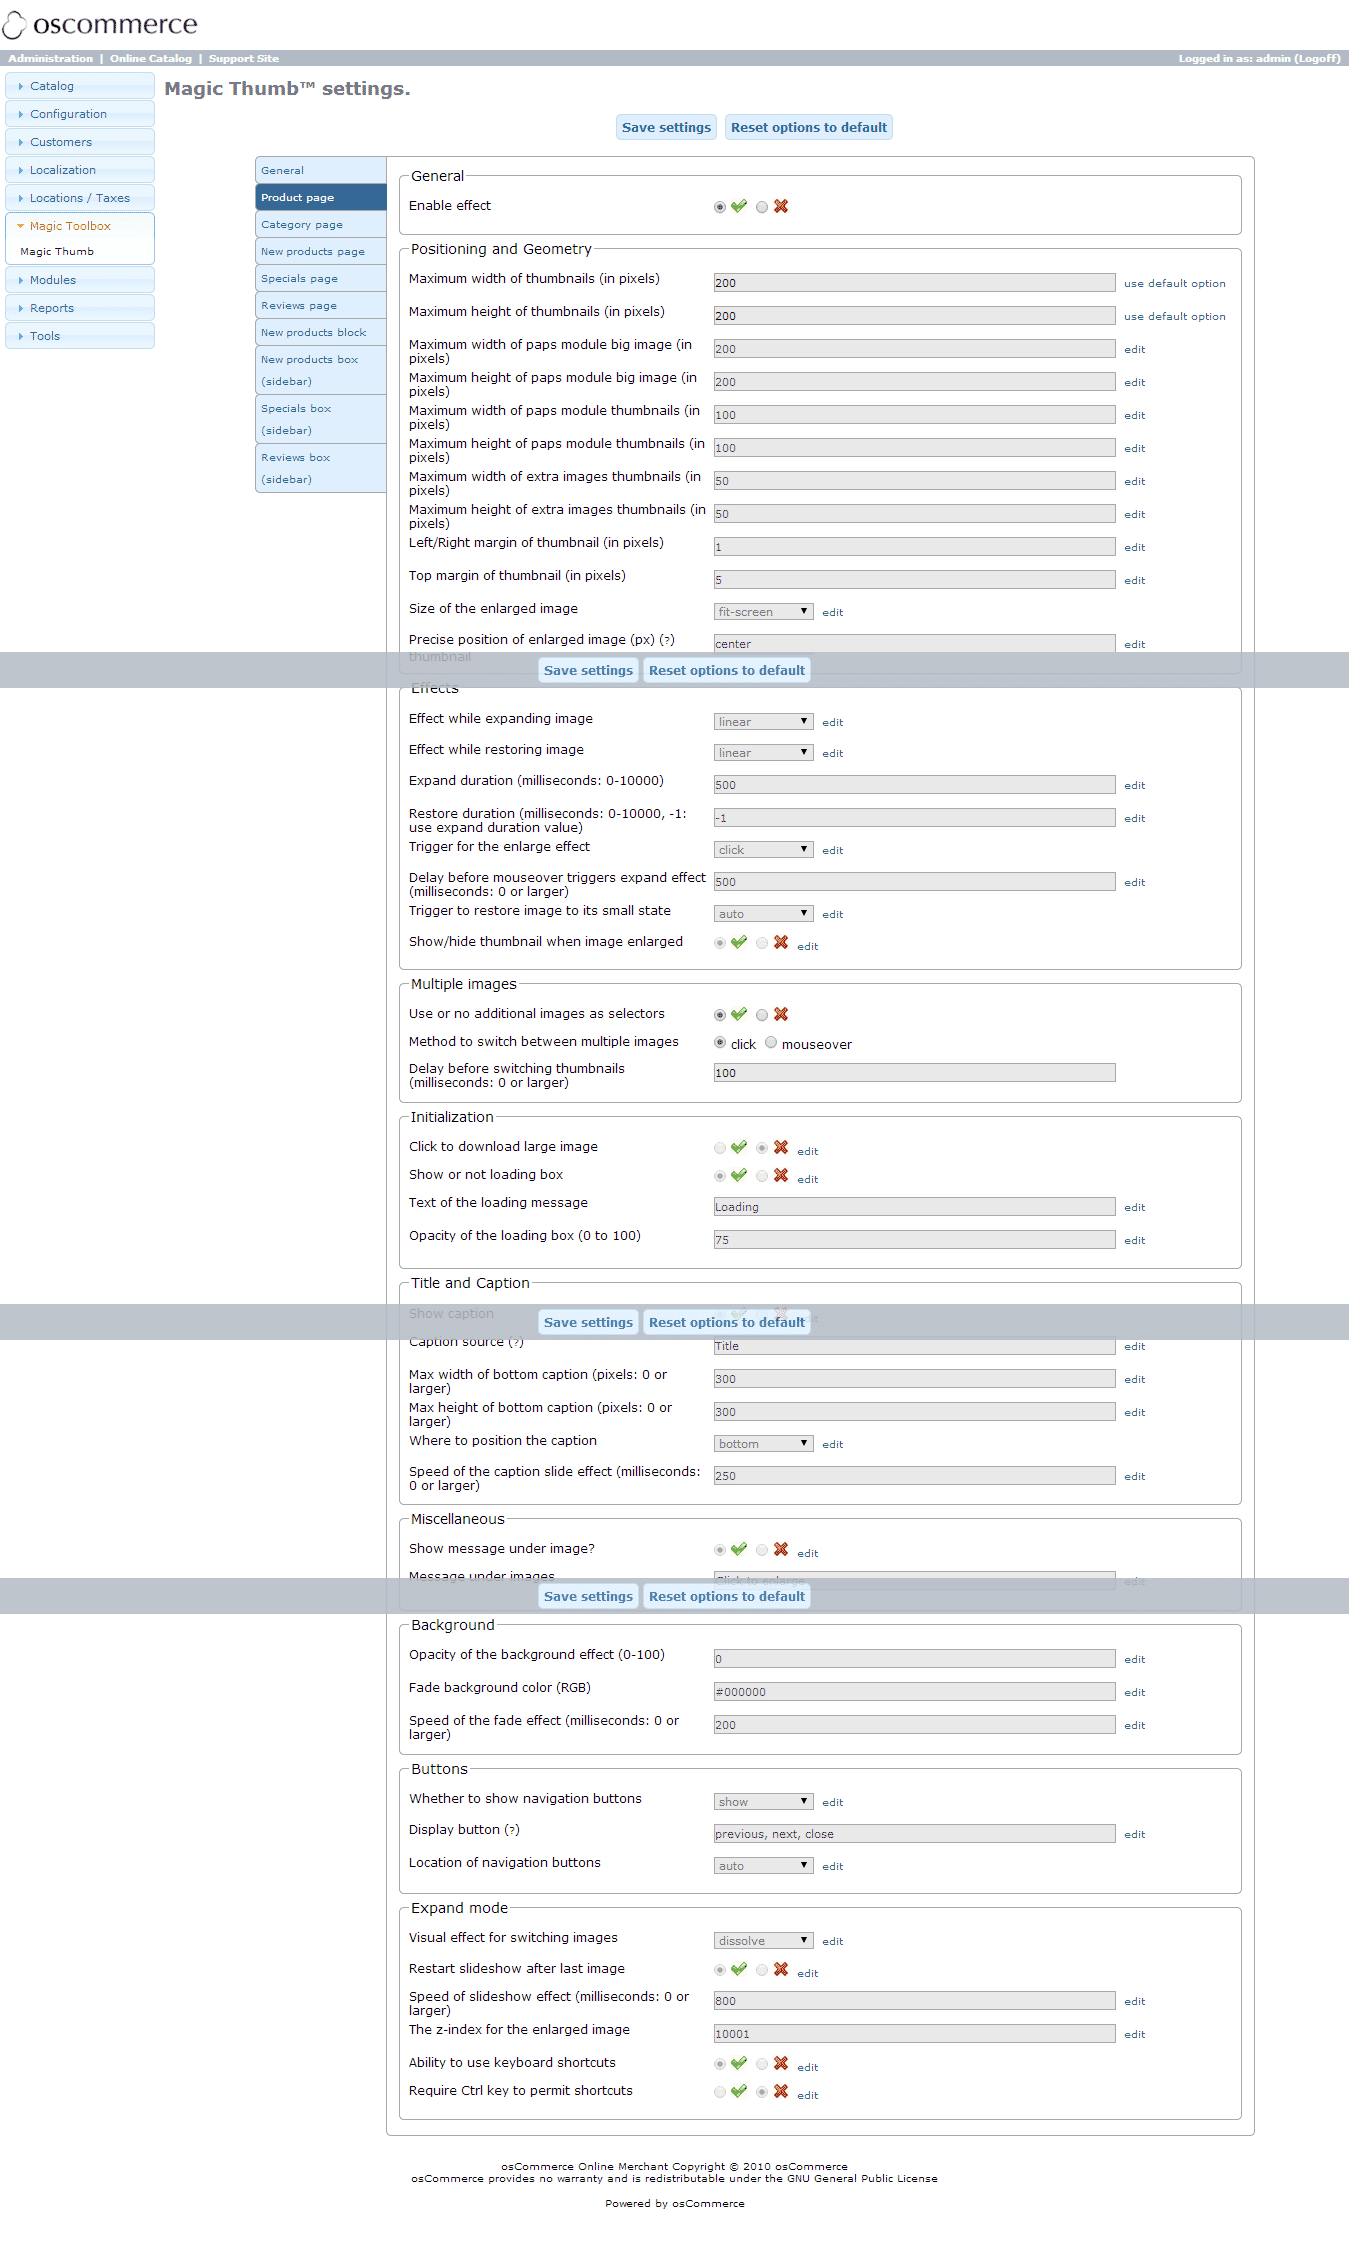
 Go to Admin panel > Magic Toolbox > Magic Thumb and customize Magic Thumb how you want it.
 -
 Magic Thumb can be enabled on any page or section you choose.
 - Buy Magic Thumb To upgrade your free and fully functional trial version of Magic Thumb (which removes the "Trial version" text), buy Magic Thumb and overwrite following file with the same one from your licensed version:
includes/modules/magicthumb/core/magicthumb.js


osCommerce 3.x installation
osCommerce Online Merchant v3.0 is currently in development and does not yet contain the same user-end features that v2.3 has. This release is recommended for developers and users who are participating in its development and are providing feedback. Other users should wait until v3.1.0 for a feature complete and production ready release.
- Download osCommerce 3 module for Magic Thumb (free and fully functional demo version).
- Upload the contents of the catalog directory to your osCommerce directory to their respective folders.
- Upload the contents of the admin directory to your osCommerce admin directory to their respective folders.
- The demo is now installed!
- Go to Admin panel > Magic Toolbox > Magic Thumb and configure Magic Thumb how you want it.
- Buy Magic Thumb To upgrade your free and fully functional trial version of Magic Thumb (which removes the "Trial version" text), buy Magic Thumb and overwrite following file with the same one from your licensed version:
includes/modules/magicthumb/core/magicthumb.js
Multiple images addons
Swap between multiple images by using one of the many osCommerce add-ons.
Our tools support these add-ons:
- Extra Images
- Color Swatches
- Additional Images Module
- Sm,Med,and Lg Images
- Automatic Thumbnail
- More Pics 6
- Ultra pics
- Dynamic MoPics
- Paps images
- STS (templates)
- SEF
Uninstallation (osCommerce 2.x)
Thanks for trying Magic Thumb on your osCommerce site! What did you hope Magic Thumb could do? How can we improve it? Let us know, we're always improving our tools based on customer feedback.
- Go to http://your.site.url/magicthumb/ in your browser and click 'Uninstall' (replace yoursite.url with your domain name).
- Delete the magicthumb folder from your osCommerce directory (on your server).
- Magic Thumb is now uninstalled.
Magic Thumb for osCommerce
About
These instructions are for osCommerce. Use them to add effects to your website including image zoom on hover/mouseover; image lightbox (enlarge image to full screen); image slideshows in JavaScript; image carousels; and image magnifiers.
Changelog
- v2.1.5
Removed 'Caption source' option.
June 7, 2018
- v2.1
Added support for Magic Scroll v2. Added support for Magic Slideshow v3. Added support for Magic Zoom Plus v5.
March 31, 2015
- v2.0
Added MagicScroll as selectors
June 1, 2011
- v1.3
Changes to caption-source parameter to allow multiple sources.
June 8, 2010
- v1.2
Fixed zoom without click on last image in category listing.
August 17, 2009
- v1.1
Fixed home page error. * Improved usage of title/caption options.
April 10, 2009
- v1.0
${tool.lower} module for osCommerce 3 created.
April 10, 2009