extensions
Image tools for NetSuite
NetSuite is a powerful platform for running your business on. However, the standard product displays are somewhat basic.
Raise your sales conversions immediately by installing sophisticated image zoom tools from Magic Toolbox. Customers will see greater detail and enjoy an all-round refined experience. Try all the effects below and choose your favourite.
     | |
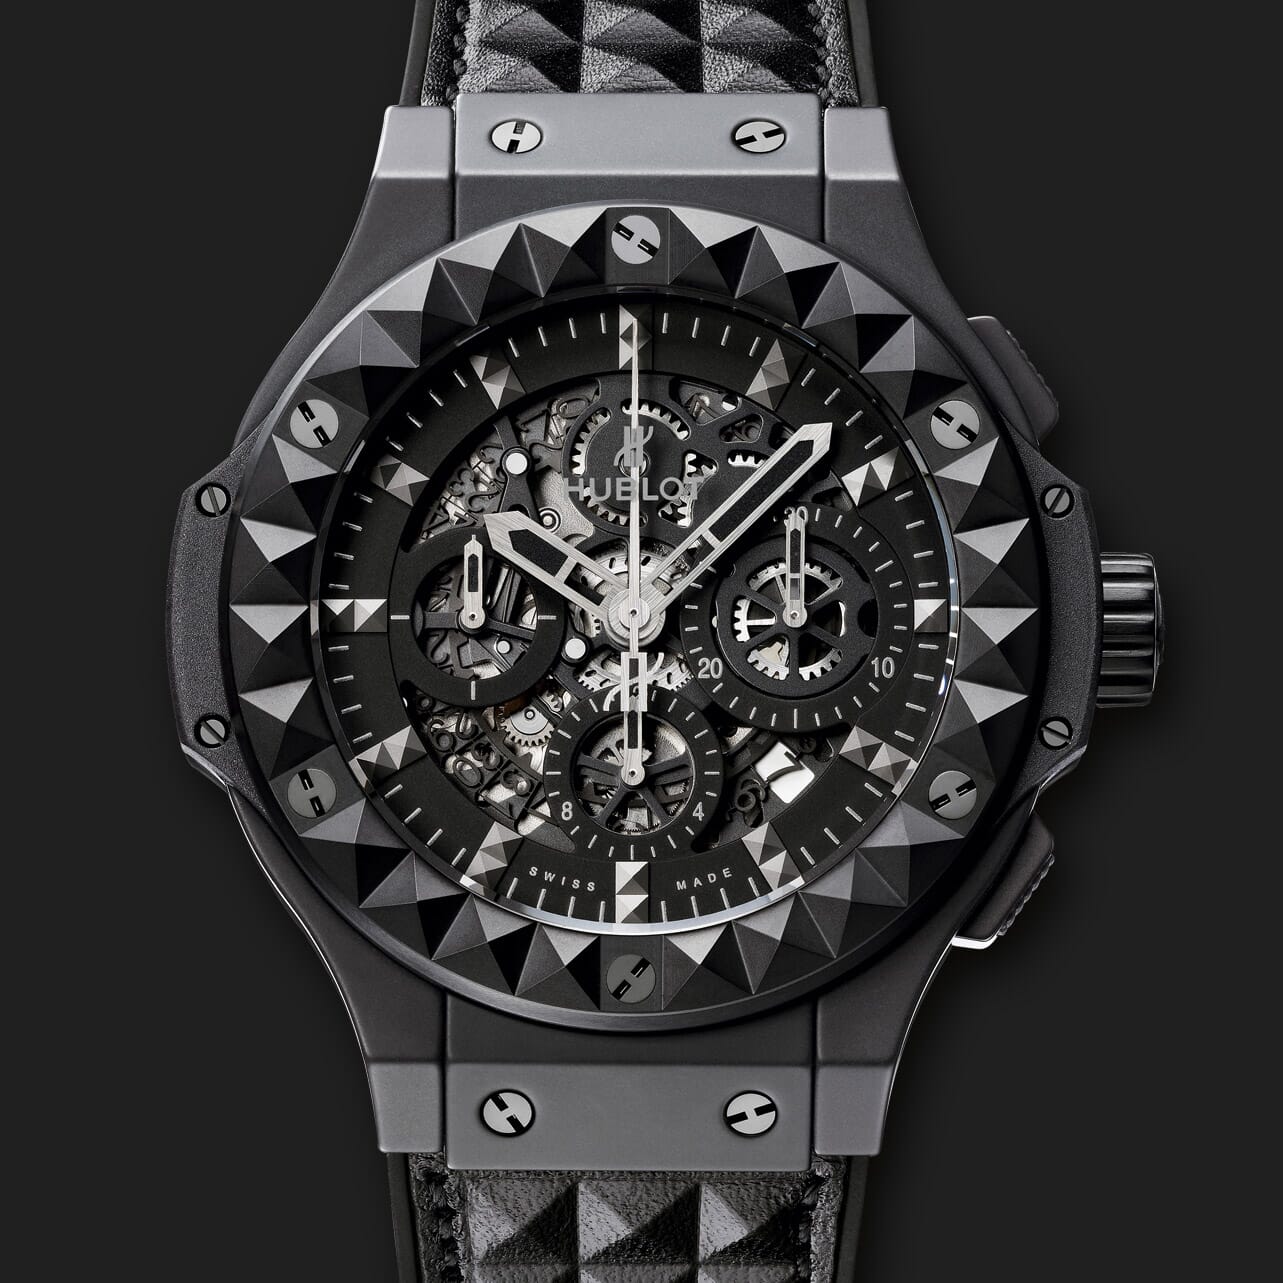
Magic Zoom Plus for NetSuite
Responsive design - auto scales to fit the user's screen
- Perfectly sized images, with mouse gestures too.
- Refine and optimise your zoom easily and quickly.
- All latest versions
98% of shoppers say its their favourite zoom
Responsive
Fast loading
SEO friendly
Supports video
Easy to customise
Switchable thumbnails
Friendly support
One-off payment
jQuery compatible
Regularly updated
Lazy loading
Optimised for mobile
- Download Magic Zoom Plus (free and fully functional demo version).
- Upload magiczoomplus.js and magiczoomplus.css to your file cabinet, at:
"Documents > Files > File Cabinet > Web Site Hosting Files > Staging Hosting Files > site" - Point your domain name's test URL to your NetSuite site e.g. http://test.example.com.
- Register your test URL in the Domains section like so:
“Hosted As=Web Store”, “Web Site=yourdomainname”, and “HTML Hosting Root=Staging Hosting Files”. - Upload your product images to this location: “Lists > Web Site > Images” and set your desired image sizes for the small image and large: “Setup > Web Site > Image Resizing”.
Reference the CSS and JS files via the “Addition to <head>” section of the “General” tab, at: “Setup > Web Site > Themes>”.
Alternatively, reference these two files in each of your lower level Item/Category Templates, in the “Addition to <head>” section, at: “Setup > Web Site > Item/Category Templates”.
The code added to your <head> should look something like this:
<meta http-equiv="imagetoolbar" content="no">
<link rel="stylesheet" href="/site/magiczoomplus.css" media="screen">
<script src="/site/magiczoomplus.js"></script>
The code added to your <body> should look something like this:
<a href="<%=getCurrentAttribute('item','storeDisplayImage')%>" class="MagicZoom"> <img src="<%=getCurrentAttribute('item','storeDisplayImage')%>" alt="" height="300" width="300"> </a>- Buy Magic Zoom Plus To upgrade your free and fully functional trial version of Magic Zoom Plus (which removes the "Trial version" text), buy Magic Zoom Plus. Then overwrite the demo magiczoomplus.js file with the one from your licensed version.
Setting up multiple product images
Instructions for adding zooming to multiple product images on the same product details page:
- Add custom fields, to hold the images in the template, within NetSuite at:
“Setup > Customization > Item Fields” - Create new custom fields, enough to hold the maximum number of alternate images for any one item in your inventory. Your parameters should look something like this:
Label: Alternate Image01 (use 2 digit numbers starting with 01)
ID: _alternateimage01 (when saved, NetSuite adds the prefix “custitem”)
Owner: select from dropdown menu
Type: Image
Store Value: check
Applies To: check appropriate item type, e.g. Inventory Item
Display: Subtab: Select Inventory from the dropdown menu - Add alternate images to each of your items at:
“List > Website > Items”
“Inventory” tab> list all appropriate Alternate Images for each item here - Find the appropriate place in your Item/Category Template code, and add the following code. For example, you need to add an additional row, and span across 3 columns, in the Products (item drilldown) Item/Category Template. Add your desired height and width parameters for your alternate images. Hint: click on the outside of the NetSuite code window, before clicking Save, and NetSuite will automatically do a background syntax check.
Add id=”mainImage” to your code, which now should look like this:
<body>
<!-- Default image sizes set in Image Resizing; Returns URL (Big Image) and IMG Tag HTML (Small Image) respectively -->
<!-- IMG Tag and attributes, instead of attribute “storedisplayimagehtml”, required here for Alternate Image process -->
<!-- Set your desired height & width parameters -->
<a href="<%=getCurrentAttribute('item','storeDisplayImage')%>" id="mainImage" class="MagicZoom">
<img src="<%=getCurrentAttribute('item','storeDisplayImage')%>" alt="" height="300" width="300">
</body>
Add following code for alternate product images:
<script>
var altimages = new Array(
 "<%=getCurrentAttribute('item','custitem_alternateimage01')%>" ,
 "<%=getCurrentAttribute('item','custitem_alternateimage02')%>" ,
 "<%=getCurrentAttribute('item','custitem_alternateimage03')%>" ,
 "<%=getCurrentAttribute('item','custitem_alternateimage04')%>" ,
 "<%=getCurrentAttribute('item','custitem_alternateimage05')%>" ,
 "<%=getCurrentAttribute('item','custitem_alternateimage06')%>" ,
 "<%=getCurrentAttribute('item','custitem_alternateimage07')%>" ,
 "<%=getCurrentAttribute('item','custitem_alternateimage08')%>" ,
 "<%=getCurrentAttribute('item','custitem_alternateimage09')%>"
);

for(var i = altimages.length - 1; i >= 0; i--) {
    if (altimages[i] == "" || altimages[i].substr(0,6) == "[Error") {
        altimages.splice(i,1);
    }
}

if (altimages.length < 2){
} else{
    for (var i = 0; i < altimages.length; i++) {
        if (i == 0) {
            document.write("<BR><BR>Alternate images:<BR><BR>");
        }
        document.write("<a href="" + altimages[i] + "" " +
        "rel="zoom-id:mainImage"  rev="" + altimages[i] + "" " +
        "><img style="widh:auto;" src="" + altimages[i] +  "" height="80" alt=""/></a>"
       );
       document.write("  ");
    }
}
</script>
Notes
- NetSuite requires only one image for a product and resizes it dynamically as it is used across your site. NetSuite does not require you to upload different sizes for the same image. Images uploaded can have a width or length of up to 5000 pixels.
- For help pointing your domain name to your NetSuite website, see: Pointing Domain Names at NetSuite.
- When you test your changes, force refresh the page so that all files are downloaded again and not from your browser cache. If your changes do not readily appear, use “Setup > Web Site > Preview Web Site” to test your changes instead.
- Special thanks to Gary Johnson for help with this step-by-step "how-to" guide.
Thanks for trying Magic Zoom Plus on your NetSuite site! What did you hope Magic Zoom Plus could do? How can we improve it? Let us know, we're always improving our tools based on customer feedback.
Delete the reference for the CSS and JS files via the “Addition to <head>” section of the “General” tab, at: “Setup > Web Site > Themes>”.
Alternatively, delete the reference of these two files from each of your lower level Item/Category Templates, in the “Addition to <head>” section, at: “Setup > Web Site > Item/Category Templates”.
The code deleted from your <head> should look something like this:
<meta http-equiv="imagetoolbar" content="no">
<link rel="stylesheet" href="/site/magiczoomplus.css" media="screen">
<script src="/site/magiczoomplus.js"></script>
Delete the code from your <body> which should look something like this:
<a href="<%=getCurrentAttribute('item','storeDisplayImage')%>" class="MagicZoom"> <img src="<%=getCurrentAttribute('item','storeDisplayImage')%>" alt="" height="300" width="300"> </a>- Delete magiczoomplus.js and magiczoomplus.css from your file cabinet, at:
"Documents > Files > File Cabinet > Web Site Hosting Files > Staging Hosting Files > site" - Magic Zoom Plus is now uninstalled.

Magic Zoom Plus for NetSuite
 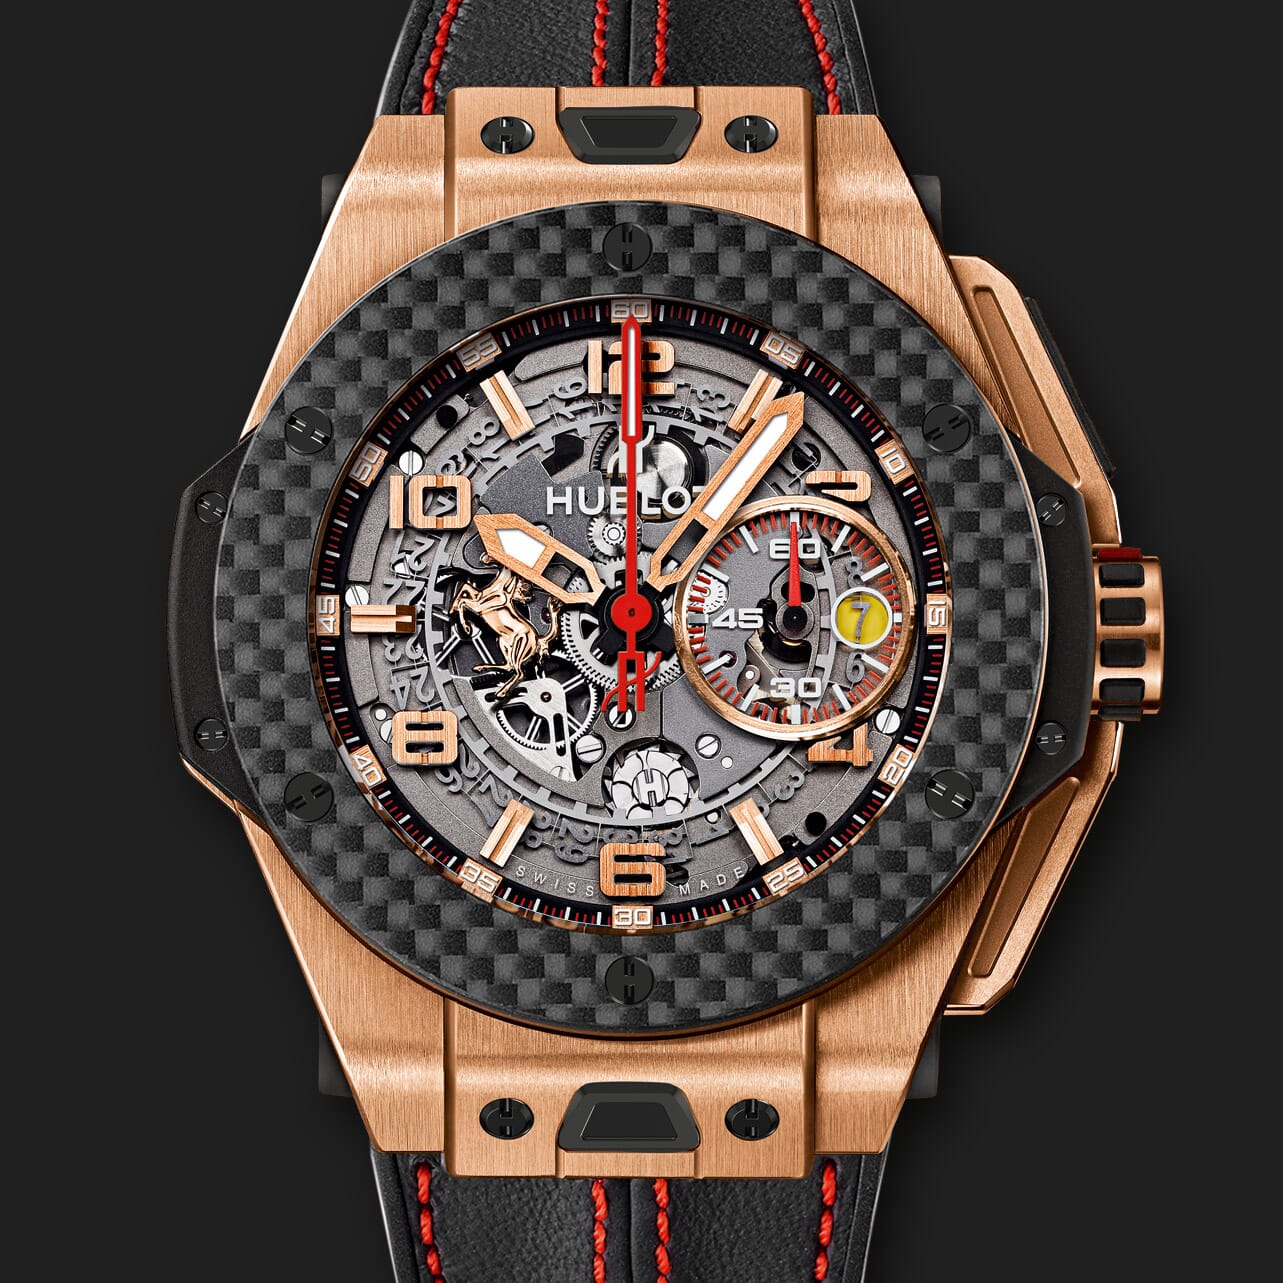   | |
Magic Zoom for NetSuite
Smoothly dissolves when switching between images.
- Highly detailed images with a smooth zooming effect.
- Sophisticated experience for your mobile users.
- All latest versions
93% of users say it boosted their sales
Responsive
Fast loading
SEO friendly
Supports video
Easy to customise
Switchable thumbnails
Friendly support
One-off payment
Regularly updated
jQuery compatible
On-demand loading
Optimised for mobile
- Download Magic Zoom (free and fully functional demo version).
- Upload magiczoom.js and magiczoom.css to your file cabinet, at:
"Documents > Files > File Cabinet > Web Site Hosting Files > Staging Hosting Files > site" - Point your domain name's test URL to your NetSuite site e.g. http://test.example.com.
- Register your test URL in the Domains section like so:
“Hosted As=Web Store”, “Web Site=yourdomainname”, and “HTML Hosting Root=Staging Hosting Files”. - Upload your product images to this location: “Lists > Web Site > Images” and set your desired image sizes for the small image and large: “Setup > Web Site > Image Resizing”.
Reference the CSS and JS files via the “Addition to <head>” section of the “General” tab, at: “Setup > Web Site > Themes>”.
Alternatively, reference these two files in each of your lower level Item/Category Templates, in the “Addition to <head>” section, at: “Setup > Web Site > Item/Category Templates”.
The code added to your <head> should look something like this:
<meta http-equiv="imagetoolbar" content="no">
<link rel="stylesheet" href="/site/magiczoom.css" media="screen">
<script src="/site/magiczoom.js"></script>
The code added to your <body> should look something like this:
<a href="<%=getCurrentAttribute('item','storeDisplayImage')%>" class="MagicZoom"> <img src="<%=getCurrentAttribute('item','storeDisplayImage')%>" alt="" height="300" width="300"> </a>- Buy Magic Zoom To upgrade your free and fully functional trial version of Magic Zoom (which removes the "Trial version" text), buy Magic Zoom. Then overwrite the demo magiczoom.js file with the one from your licensed version.
Setting up multiple product images
Instructions for adding zooming to multiple product images on the same product details page:
- Add custom fields, to hold the images in the template, within NetSuite at:
“Setup > Customization > Item Fields” - Create new custom fields, enough to hold the maximum number of alternate images for any one item in your inventory. Your parameters should look something like this:
Label: Alternate Image01 (use 2 digit numbers starting with 01)
ID: _alternateimage01 (when saved, NetSuite adds the prefix “custitem”)
Owner: select from dropdown menu
Type: Image
Store Value: check
Applies To: check appropriate item type, e.g. Inventory Item
Display: Subtab: Select Inventory from the dropdown menu - Add alternate images to each of your items at:
“List > Website > Items”
“Inventory” tab> list all appropriate Alternate Images for each item here - Find the appropriate place in your Item/Category Template code, and add the following code. For example, you need to add an additional row, and span across 3 columns, in the Products (item drilldown) Item/Category Template. Add your desired height and width parameters for your alternate images. Hint: click on the outside of the NetSuite code window, before clicking Save, and NetSuite will automatically do a background syntax check.
Add id=”mainImage” to your code, which now should look like this:
<body>
<!-- Default image sizes set in Image Resizing; Returns URL (Big Image) and IMG Tag HTML (Small Image) respectively -->
<!-- IMG Tag and attributes, instead of attribute “storedisplayimagehtml”, required here for Alternate Image process -->
<!-- Set your desired height & width parameters -->
<a href="<%=getCurrentAttribute('item','storeDisplayImage')%>" id="mainImage" class="MagicZoom">
<img src="<%=getCurrentAttribute('item','storeDisplayImage')%>" alt="" height="300" width="300">
</body>
Add following code for alternate product images:
<script>
var altimages = new Array(
 "<%=getCurrentAttribute('item','custitem_alternateimage01')%>" ,
 "<%=getCurrentAttribute('item','custitem_alternateimage02')%>" ,
 "<%=getCurrentAttribute('item','custitem_alternateimage03')%>" ,
 "<%=getCurrentAttribute('item','custitem_alternateimage04')%>" ,
 "<%=getCurrentAttribute('item','custitem_alternateimage05')%>" ,
 "<%=getCurrentAttribute('item','custitem_alternateimage06')%>" ,
 "<%=getCurrentAttribute('item','custitem_alternateimage07')%>" ,
 "<%=getCurrentAttribute('item','custitem_alternateimage08')%>" ,
 "<%=getCurrentAttribute('item','custitem_alternateimage09')%>"
);

for(var i = altimages.length - 1; i >= 0; i--) {
    if (altimages[i] == "" || altimages[i].substr(0,6) == "[Error") {
        altimages.splice(i,1);
    }
}

if (altimages.length < 2){
} else{
    for (var i = 0; i < altimages.length; i++) {
        if (i == 0) {
            document.write("<BR><BR>Alternate images:<BR><BR>");
        }
        document.write("<a href="" + altimages[i] + "" " +
        "rel="zoom-id:mainImage"  rev="" + altimages[i] + "" " +
        "><img style="widh:auto;" src="" + altimages[i] +  "" height="80" alt=""/></a>"
       );
       document.write("  ");
    }
}
</script>
Notes
- NetSuite requires only one image for a product and resizes it dynamically as it is used across your site. NetSuite does not require you to upload different sizes for the same image. Images uploaded can have a width or length of up to 5000 pixels.
- For help pointing your domain name to your NetSuite website, see: Pointing Domain Names at NetSuite.
- When you test your changes, force refresh the page so that all files are downloaded again and not from your browser cache. If your changes do not readily appear, use “Setup > Web Site > Preview Web Site” to test your changes instead.
- Special thanks to Gary Johnson for help with this step-by-step "how-to" guide.
Thanks for trying Magic Zoom on your NetSuite site! What did you hope Magic Zoom could do? How can we improve it? Let us know, we're always improving our tools based on customer feedback.
Delete the reference for the CSS and JS files via the “Addition to <head>” section of the “General” tab, at: “Setup > Web Site > Themes>”.
Alternatively, delete the reference of these two files from each of your lower level Item/Category Templates, in the “Addition to <head>” section, at: “Setup > Web Site > Item/Category Templates”.
The code deleted from your <head> should look something like this:
<meta http-equiv="imagetoolbar" content="no">
<link rel="stylesheet" href="/site/magiczoom.css" media="screen">
<script src="/site/magiczoom.js"></script>
Delete the code from your <body> which should look something like this:
<a href="<%=getCurrentAttribute('item','storeDisplayImage')%>" class="MagicZoom"> <img src="<%=getCurrentAttribute('item','storeDisplayImage')%>" alt="" height="300" width="300"> </a>- Delete magiczoom.js and magiczoom.css from your file cabinet, at:
"Documents > Files > File Cabinet > Web Site Hosting Files > Staging Hosting Files > site" - Magic Zoom is now uninstalled.
Magic Zoom for NetSuite
    | |
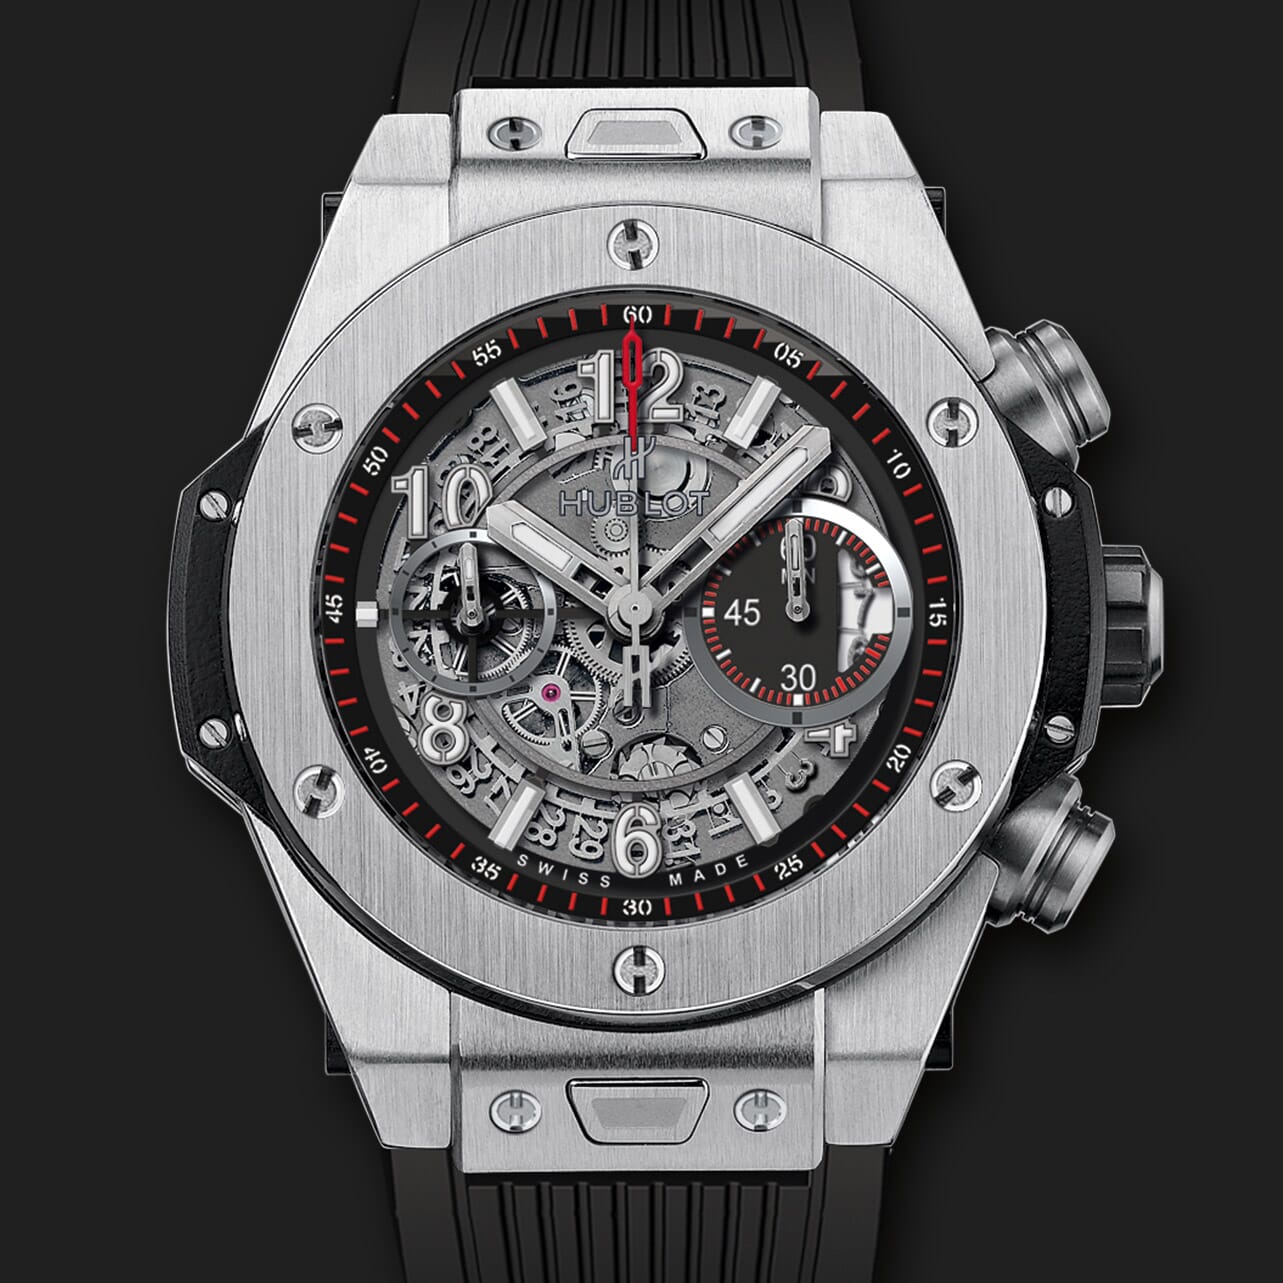
Magic Thumb for NetSuite
Dazzling images that truly shine
- Automatically fit to any type of screen
- Click left and right between enlarged images (keyboard navigation too).
- All latest versions
92% of users say its the best image lightbox
Responsive
Fast loading
SEO friendly
Lazy loading
Supports video
Friendly support
One-off payment
Regularly updated
jQuery compatible
Swappable thumbnails
- Download Magic Thumb (free and fully functional demo version).
- Upload magicthumb.js and magicthumb.css to your file cabinet, at:
"Documents > Files > File Cabinet > Web Site Hosting Files > Staging Hosting Files > site" - Point your domain name's test URL to your NetSuite site e.g. http://test.example.com.
- Register your test URL in the Domains section like so:
“Hosted As=Web Store”, “Web Site=yourdomainname”, and “HTML Hosting Root=Staging Hosting Files”. - Upload your product images to this location: “Lists > Web Site > Images” and set your desired image sizes for the small image and large: “Setup > Web Site > Image Resizing”.
Reference the CSS and JS files via the “Addition to <head>” section of the “General” tab, at: “Setup > Web Site > Themes>”.
Alternatively, reference these two files in each of your lower level Item/Category Templates, in the “Addition to <head>” section, at: “Setup > Web Site > Item/Category Templates”.
The code added to your <head> should look something like this:
<meta http-equiv="imagetoolbar" content="no">
<link rel="stylesheet" href="/site/magicthumb.css" media="screen">
<script src="/site/magicthumb.js"></script>
The code added to your <body> should look something like this:
<a href="<%=getCurrentAttribute('item','storeDisplayImage')%>" class="MagicThumb"> <img src="<%=getCurrentAttribute('item','storeDisplayImage')%>" alt="" height="300" width="300"> </a>- Buy Magic Thumb To upgrade your free and fully functional trial version of Magic Thumb (which removes the "Trial version" text), buy Magic Thumb. Then overwrite the demo magicthumb.js file with the one from your licensed version.
Setting up multiple product images
Instructions for adding zooming to multiple product images on the same product details page:
- Add custom fields, to hold the images in the template, within NetSuite at:
“Setup > Customization > Item Fields” - Create new custom fields, enough to hold the maximum number of alternate images for any one item in your inventory. Your parameters should look something like this:
Label: Alternate Image01 (use 2 digit numbers starting with 01)
ID: _alternateimage01 (when saved, NetSuite adds the prefix “custitem”)
Owner: select from dropdown menu
Type: Image
Store Value: check
Applies To: check appropriate item type, e.g. Inventory Item
Display: Subtab: Select Inventory from the dropdown menu - Add alternate images to each of your items at:
“List > Website > Items”
“Inventory” tab> list all appropriate Alternate Images for each item here - Find the appropriate place in your Item/Category Template code, and add the following code. For example, you need to add an additional row, and span across 3 columns, in the Products (item drilldown) Item/Category Template. Add your desired height and width parameters for your alternate images. Hint: click on the outside of the NetSuite code window, before clicking Save, and NetSuite will automatically do a background syntax check.
Add id=”mainImage” to your code, which now should look like this:
<body>
<!-- Default image sizes set in Image Resizing; Returns URL (Big Image) and IMG Tag HTML (Small Image) respectively -->
<!-- IMG Tag and attributes, instead of attribute “storedisplayimagehtml”, required here for Alternate Image process -->
<!-- Set your desired height & width parameters -->
<a href="<%=getCurrentAttribute('item','storeDisplayImage')%>" id="mainImage" class="MagicThumb">
<img src="<%=getCurrentAttribute('item','storeDisplayImage')%>" alt="" height="300" width="300">
</body>
Add following code for alternate product images:
<script>
var altimages = new Array(
 "<%=getCurrentAttribute('item','custitem_alternateimage01')%>" ,
 "<%=getCurrentAttribute('item','custitem_alternateimage02')%>" ,
 "<%=getCurrentAttribute('item','custitem_alternateimage03')%>" ,
 "<%=getCurrentAttribute('item','custitem_alternateimage04')%>" ,
 "<%=getCurrentAttribute('item','custitem_alternateimage05')%>" ,
 "<%=getCurrentAttribute('item','custitem_alternateimage06')%>" ,
 "<%=getCurrentAttribute('item','custitem_alternateimage07')%>" ,
 "<%=getCurrentAttribute('item','custitem_alternateimage08')%>" ,
 "<%=getCurrentAttribute('item','custitem_alternateimage09')%>"
);

for(var i = altimages.length - 1; i >= 0; i--) {
    if (altimages[i] == "" || altimages[i].substr(0,6) == "[Error") {
        altimages.splice(i,1);
    }
}

if (altimages.length < 2){
} else{
    for (var i = 0; i < altimages.length; i++) {
        if (i == 0) {
            document.write("<BR><BR>Alternate images:<BR><BR>");
        }
        document.write("<a href="" + altimages[i] + "" " +
        "rel="zoom-id:mainImage"  rev="" + altimages[i] + "" " +
        "><img style="widh:auto;" src="" + altimages[i] +  "" height="80" alt=""/></a>"
       );
       document.write("  ");
    }
}
</script>
Notes
- NetSuite requires only one image for a product and resizes it dynamically as it is used across your site. NetSuite does not require you to upload different sizes for the same image. Images uploaded can have a width or length of up to 5000 pixels.
- For help pointing your domain name to your NetSuite website, see: Pointing Domain Names at NetSuite.
- When you test your changes, force refresh the page so that all files are downloaded again and not from your browser cache. If your changes do not readily appear, use “Setup > Web Site > Preview Web Site” to test your changes instead.
- Special thanks to Gary Johnson for help with this step-by-step "how-to" guide.
Thanks for trying Magic Thumb on your NetSuite site! What did you hope Magic Thumb could do? How can we improve it? Let us know, we're always improving our tools based on customer feedback.
Delete the reference for the CSS and JS files via the “Addition to <head>” section of the “General” tab, at: “Setup > Web Site > Themes>”.
Alternatively, delete the reference of these two files from each of your lower level Item/Category Templates, in the “Addition to <head>” section, at: “Setup > Web Site > Item/Category Templates”.
The code deleted from your <head> should look something like this:
<meta http-equiv="imagetoolbar" content="no">
<link rel="stylesheet" href="/site/magicthumb.css" media="screen">
<script src="/site/magicthumb.js"></script>
Delete the code from your <body> which should look something like this:
<a href="<%=getCurrentAttribute('item','storeDisplayImage')%>" class="MagicThumb"> <img src="<%=getCurrentAttribute('item','storeDisplayImage')%>" alt="" height="300" width="300"> </a>- Delete magicthumb.js and magicthumb.css from your file cabinet, at:
"Documents > Files > File Cabinet > Web Site Hosting Files > Staging Hosting Files > site" - Magic Thumb is now uninstalled.
Magic Thumb for NetSuite
About
These instructions are for NetSuite. Use them to add effects to your website including image zoom on hover/mouseover; image lightbox (enlarge image to full screen); image slideshows in JavaScript; image carousels; and image magnifiers.